Laser cut Christmas ornaments are a great gift or product you can make with your xTool laser. Here are three unique ideas to get you started!
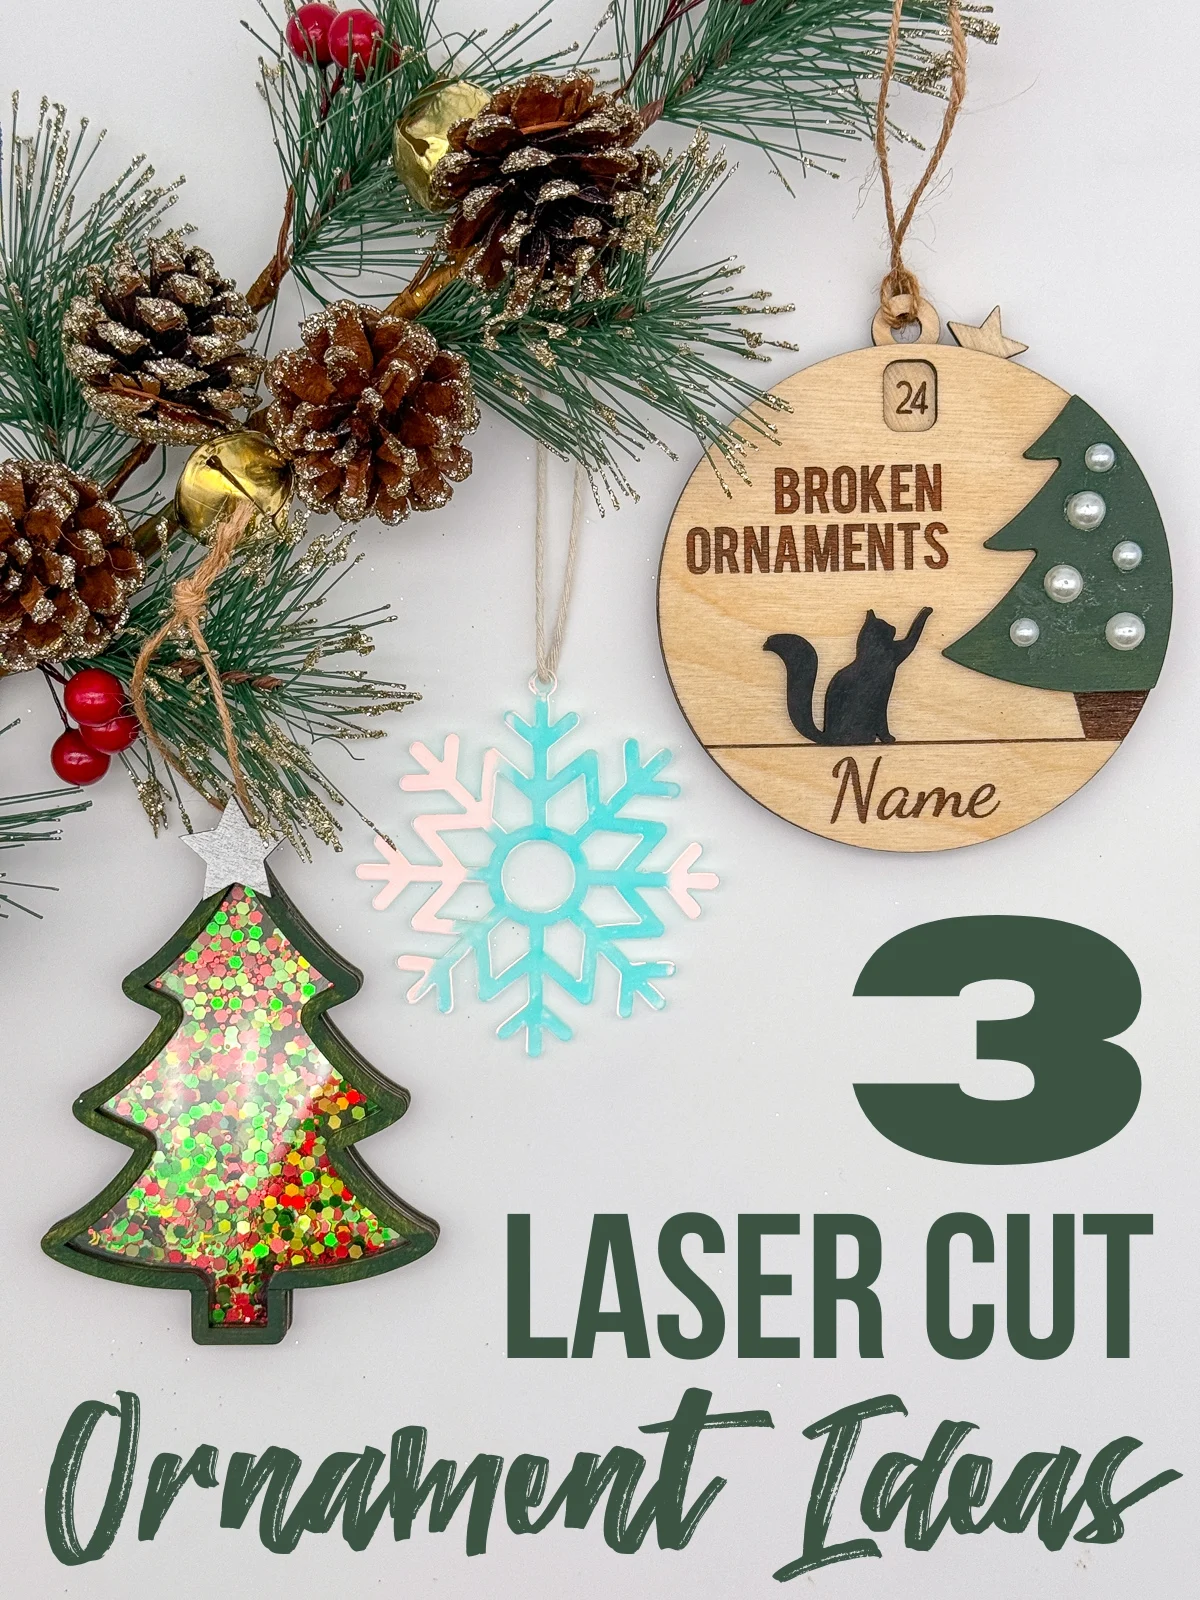
Christmas ornaments are the perfect beginner project when you first get a laser cutter. Their small size means you can mess up without wasting too much material, and even imperfect ones will still look beautiful on the tree!
Laser cut ornaments are also a great product to sell online or at craft shows. You can personalize them with engraved names for a unique item that customers can't find at the mall.
You can find a ton of fun ornament files on Etsy, or you can try your hand at designing your own. Here are three different laser cut Christmas ornaments I made using my xTool P2 laser to get you started!
This post contains affiliate links for your convenience. Purchases made through these links may earn me a small commission at no additional cost to you. Please visit my disclosures page for more information.
Don't have a laser yet? Use the code VINETA80 for $80 off your xTool purchase of $999 or more! Click here to check them out!
Countdown Ornament
You can find a ton of countdown to Christmas ornaments on Etsy. This clever design features a wheel that spins between two layers of wood to display the numbers in a window at the top.
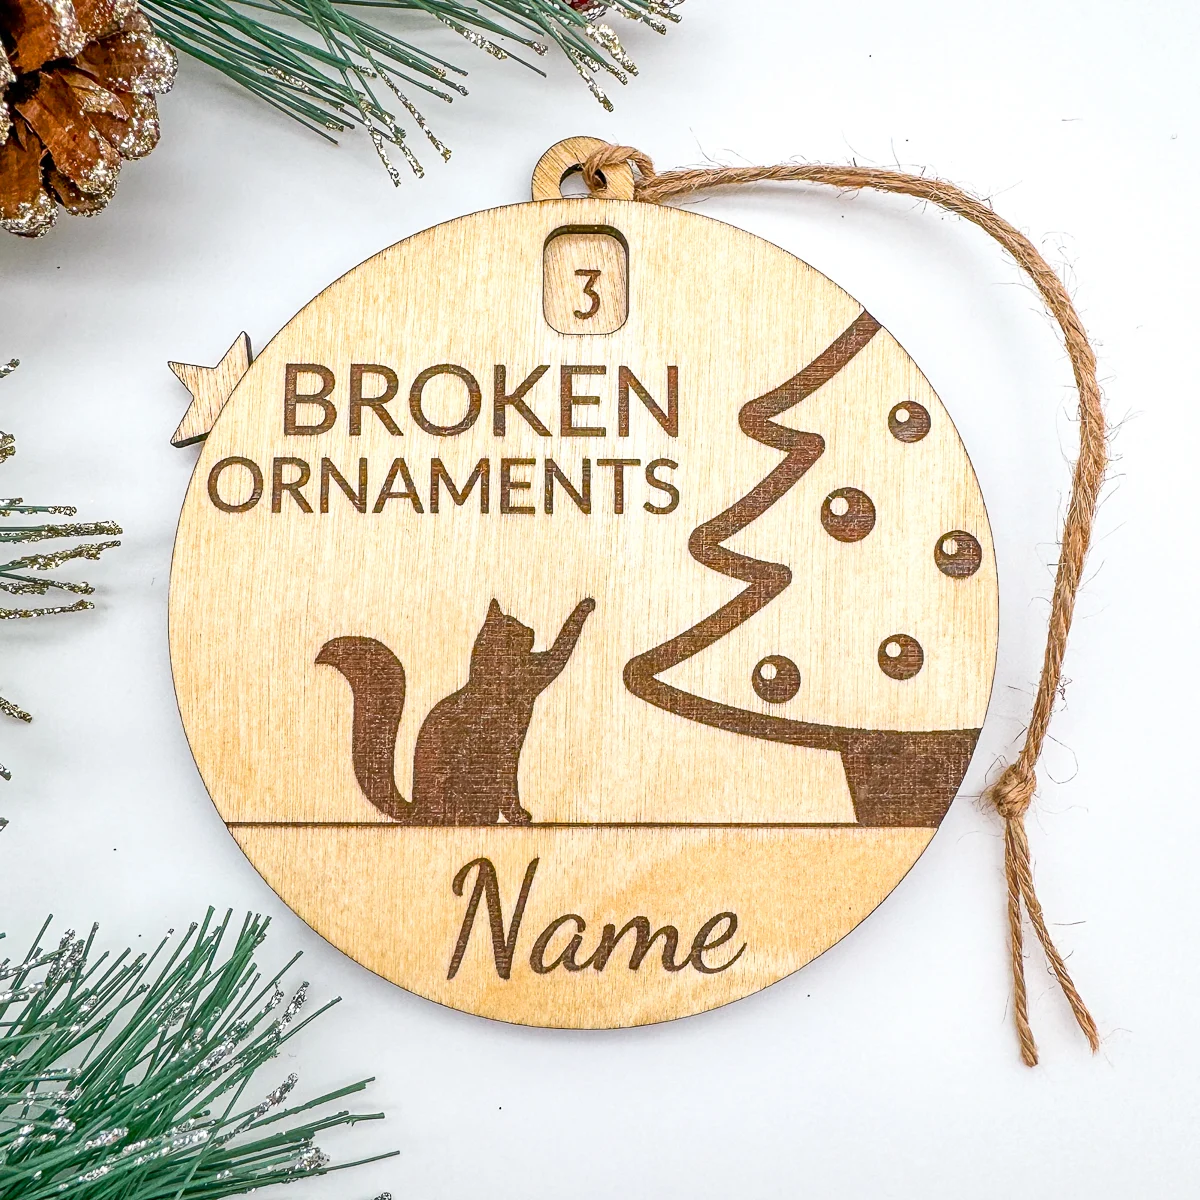
I decided to change up the theme for all those cat lovers whose furry friends love to destroy Christmas tree decorations! My version counts up the number of broken ornaments over the holiday season, with space at the bottom for personalization.
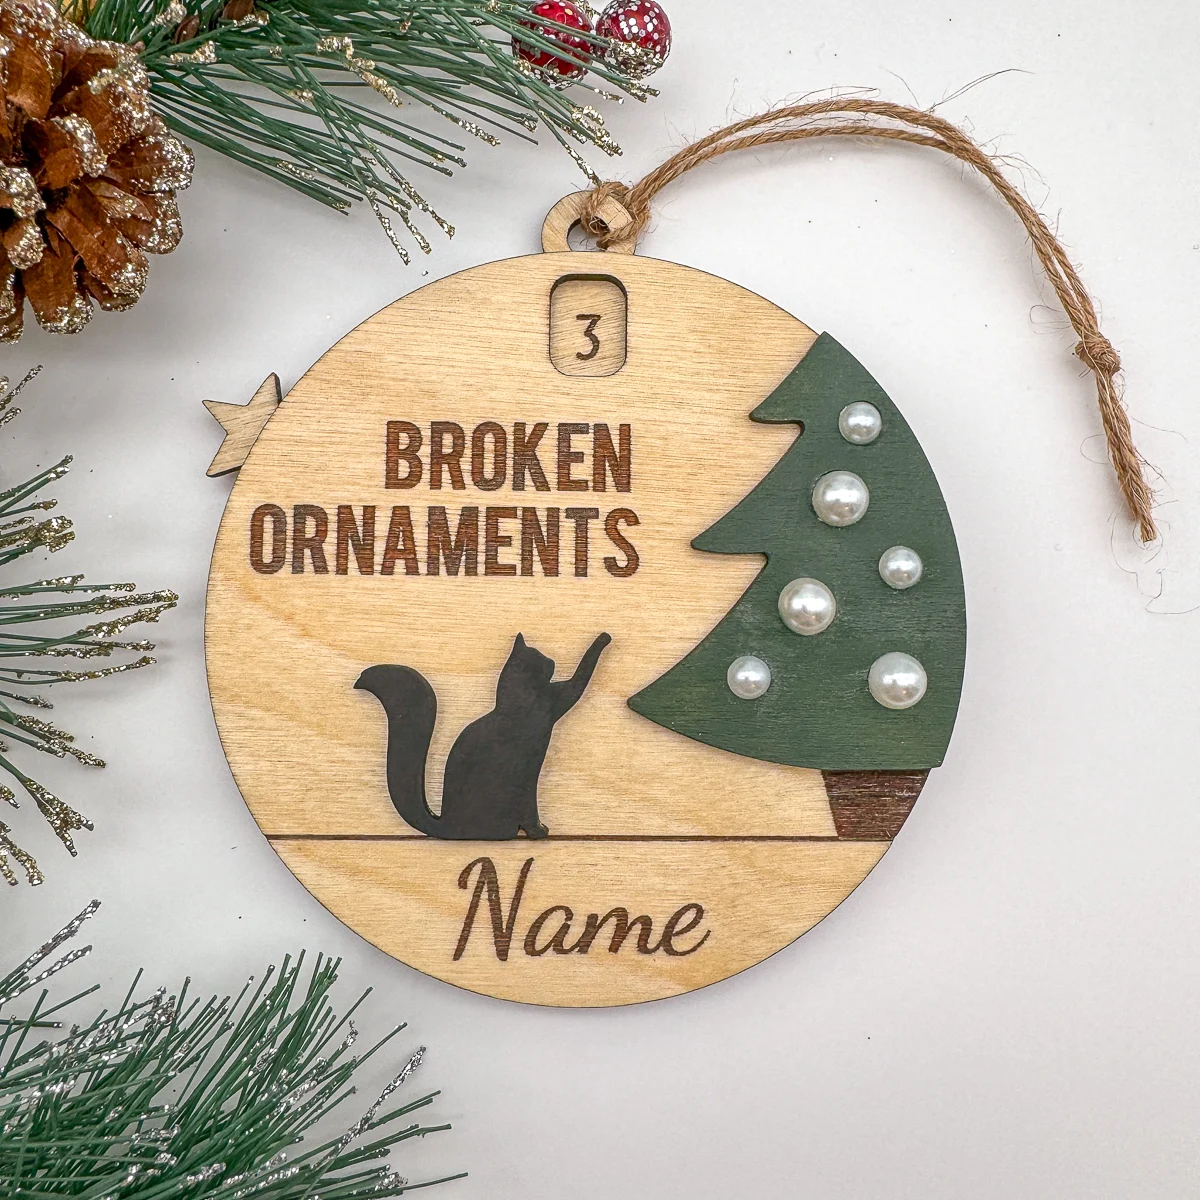
I also made a color version that cuts out the cat and tree as separate elements that can be painted. The ornaments on the tree are pearl stickers that I found at Michael's.
The xTool P2 engraved and cut these out soooo fast! This time-lapse video was taken over about 10 minutes of run time.
You could also use a diode laser like the xTool M1 for this ornament. It will just take longer. You can check out my review of the xTool M1 here, and compare the two types of laser machines here.
Glitter Filled Ornaments
One of the reasons why I was so excited to get the xTool P2 is its ability to cut clear acrylic. While you can cut acrylic by hand or with power tools, you're typically limited to straight lines and can get jagged edges that need to be cleaned up.
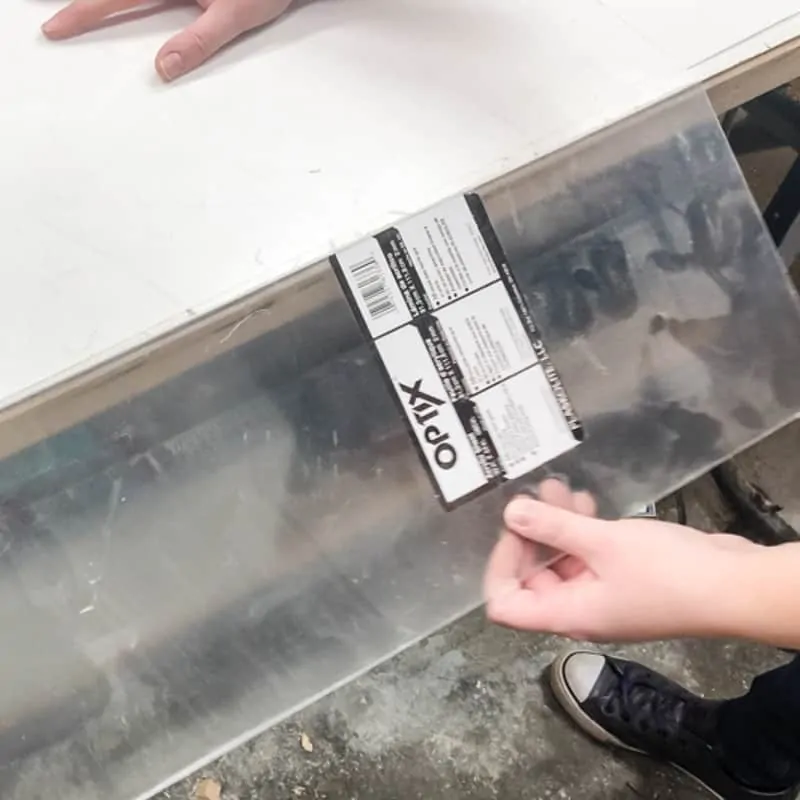
With a CO2 laser like the xTool P2, you get perfectly smooth clear acrylic edges in any shape you want! Diode lasers can cut opaque acrylic in most colors, but not transparent or translucent.
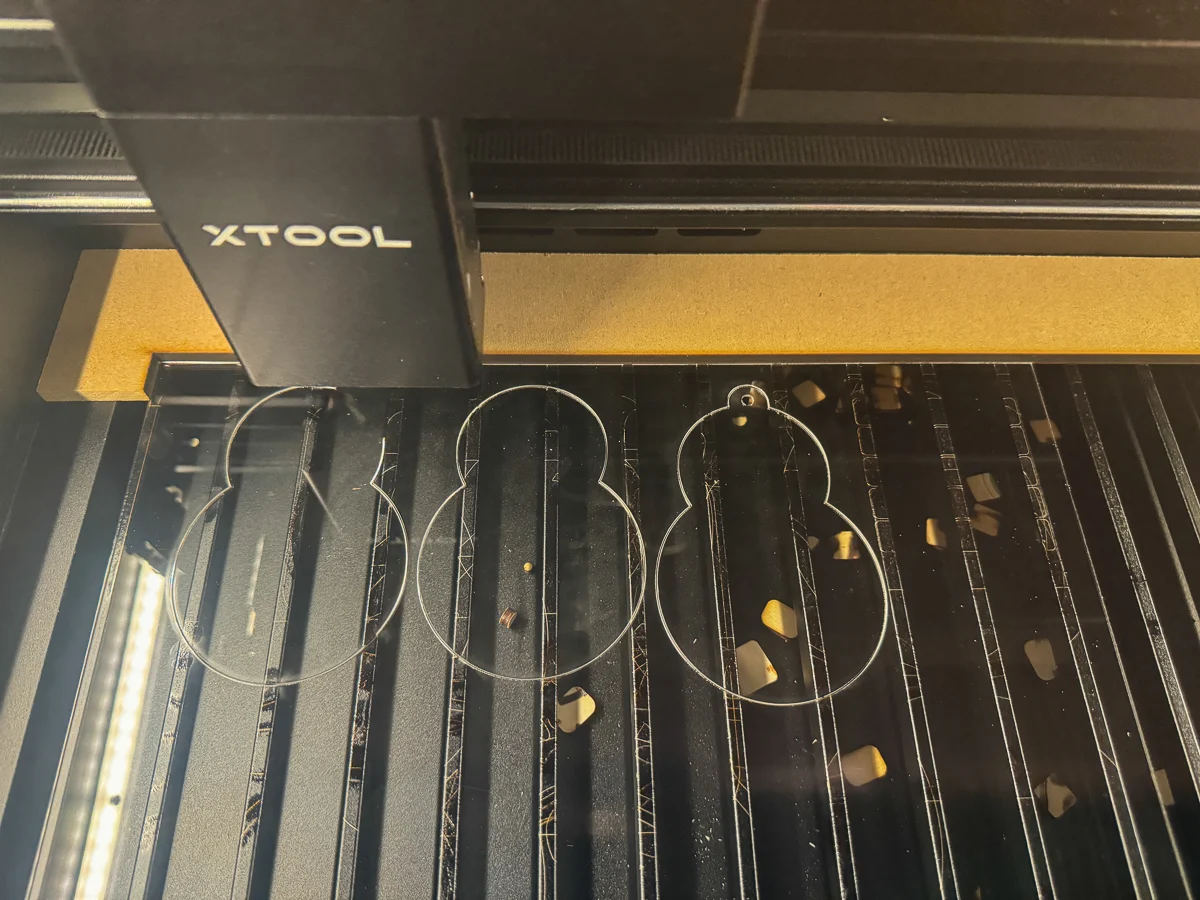
For my next laser cut Christmas ornament design, I took inspiration from the glitter shaker ornaments that kept popping up in my Etsy searches. I bought this cute snowman file first to try it out. It's so fun to shake up the glitter like a snow globe!
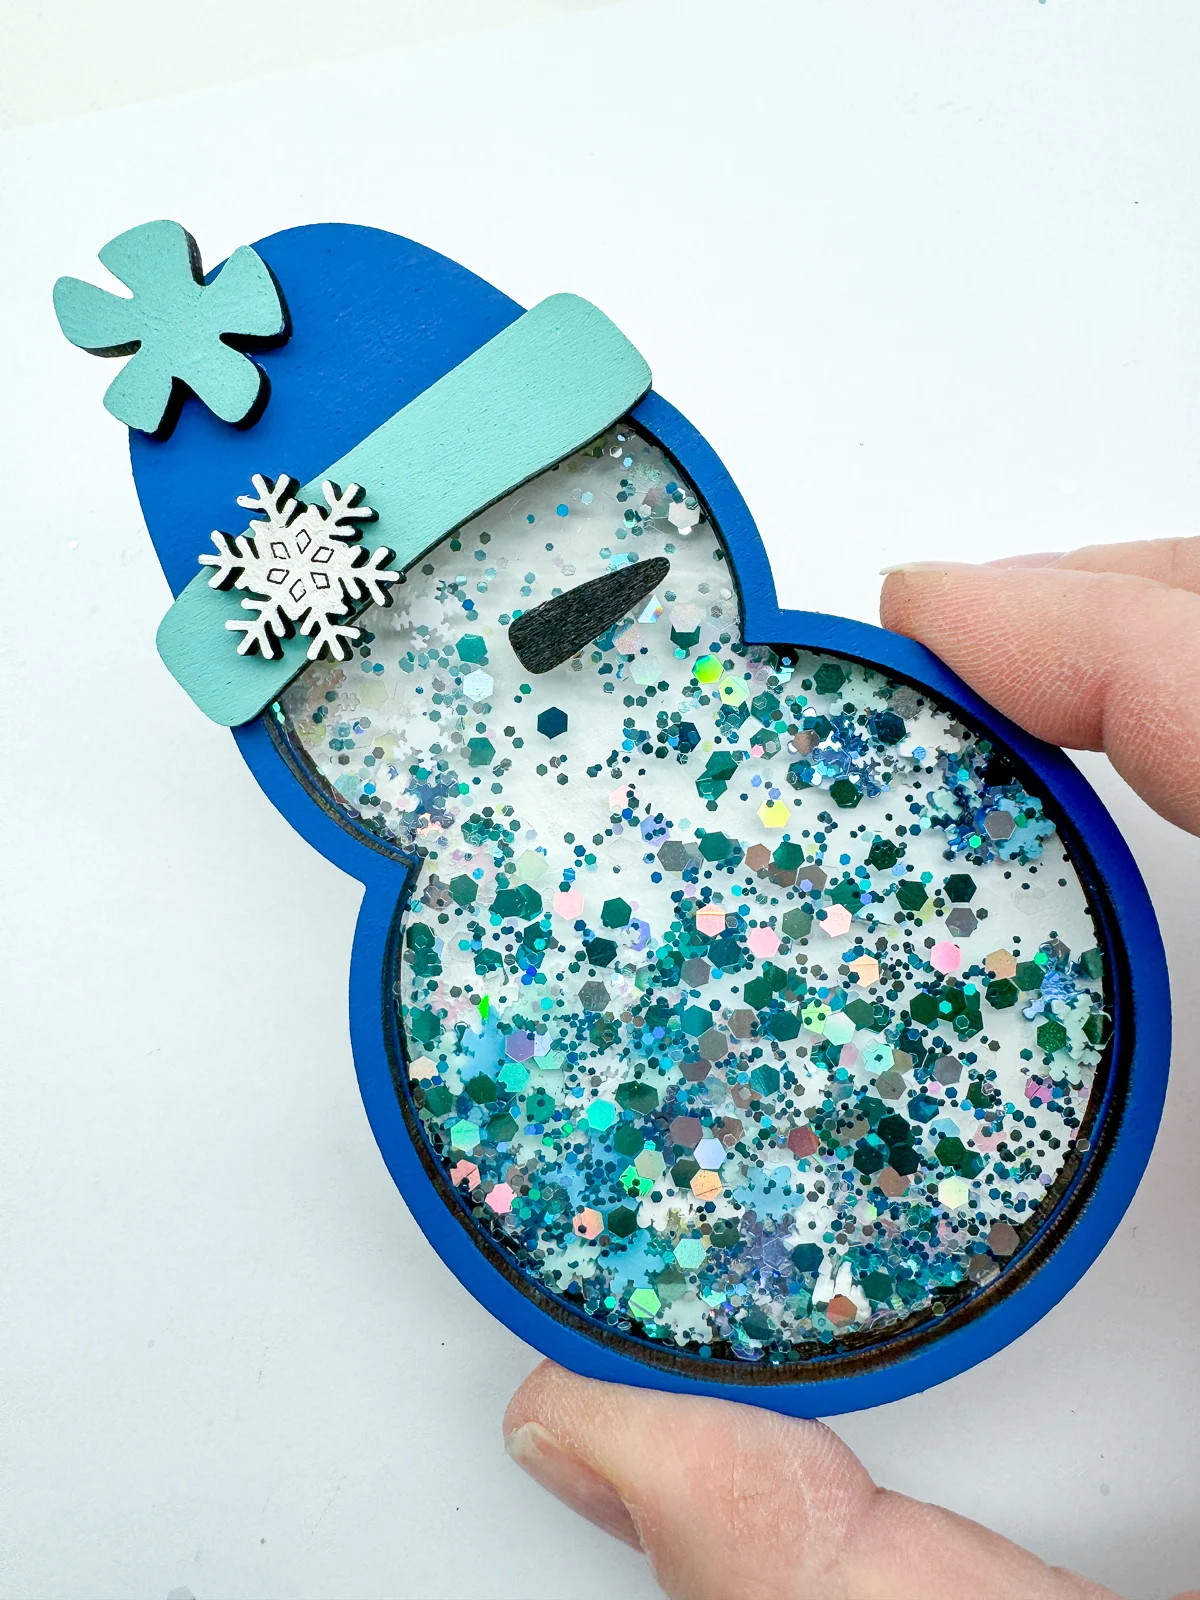
It's a pretty simple design. There's a solid backer with a hole for the string, a spacer for the glitter, a clear acrylic layer and the top frame to cover up the glue spots.
I created my own version with a Christmas tree in just a few minutes! xTool Creative Space makes it super simple, and you could make your own in any shape you want!
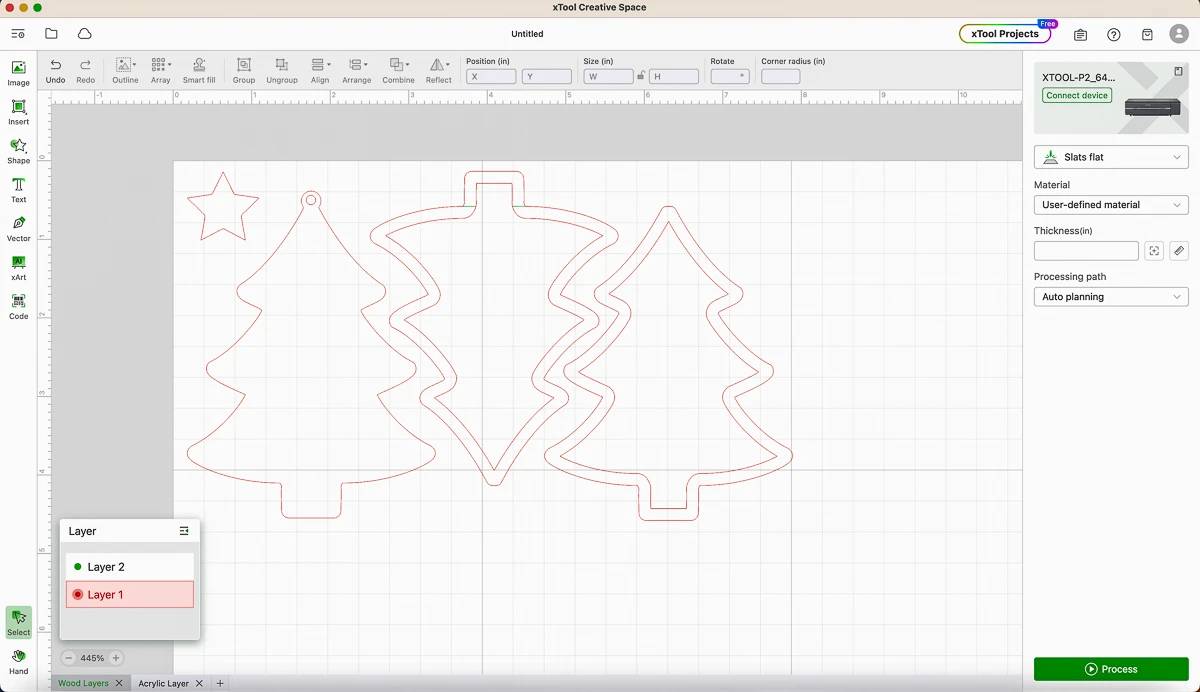
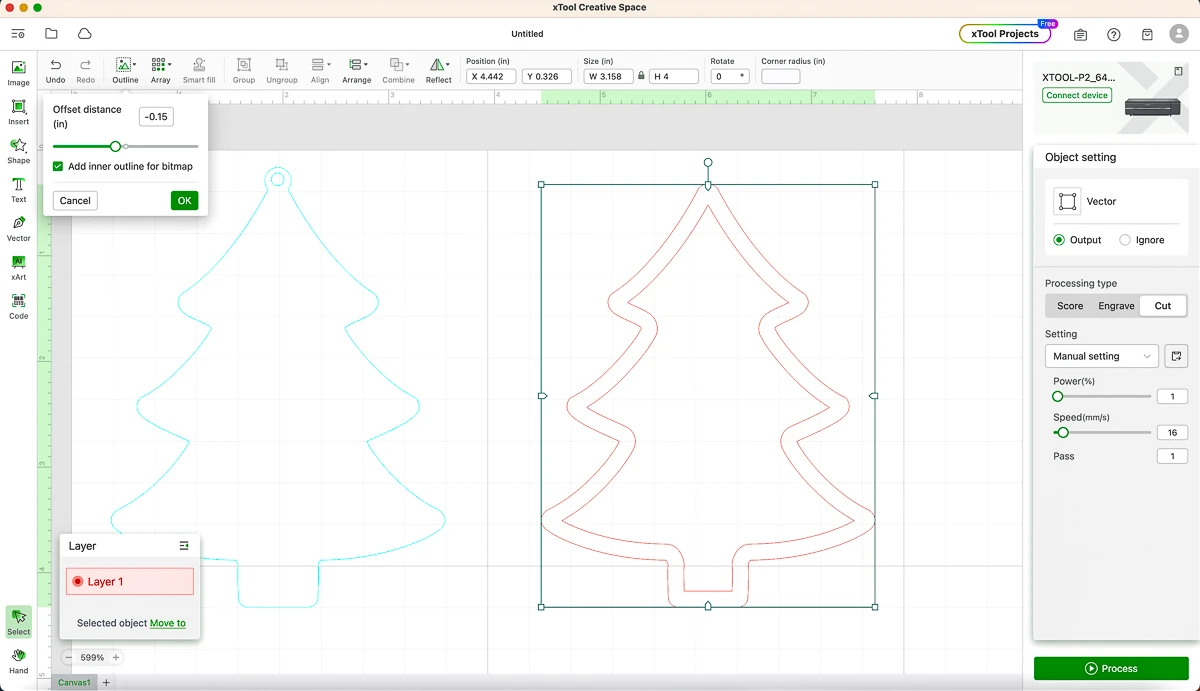
After importing my Christmas tree image, I used the outline feature to create the inside lines for the middle and top layers. Make sure this is a negative number, so the outside edges will still line up.
I had some scrap plywood left over from a test cut card that just barely fit all the wooden pieces. One of the great features of the xTool P2 is the close up camera on the laser head, so you can adjust your design to fit your material perfectly!
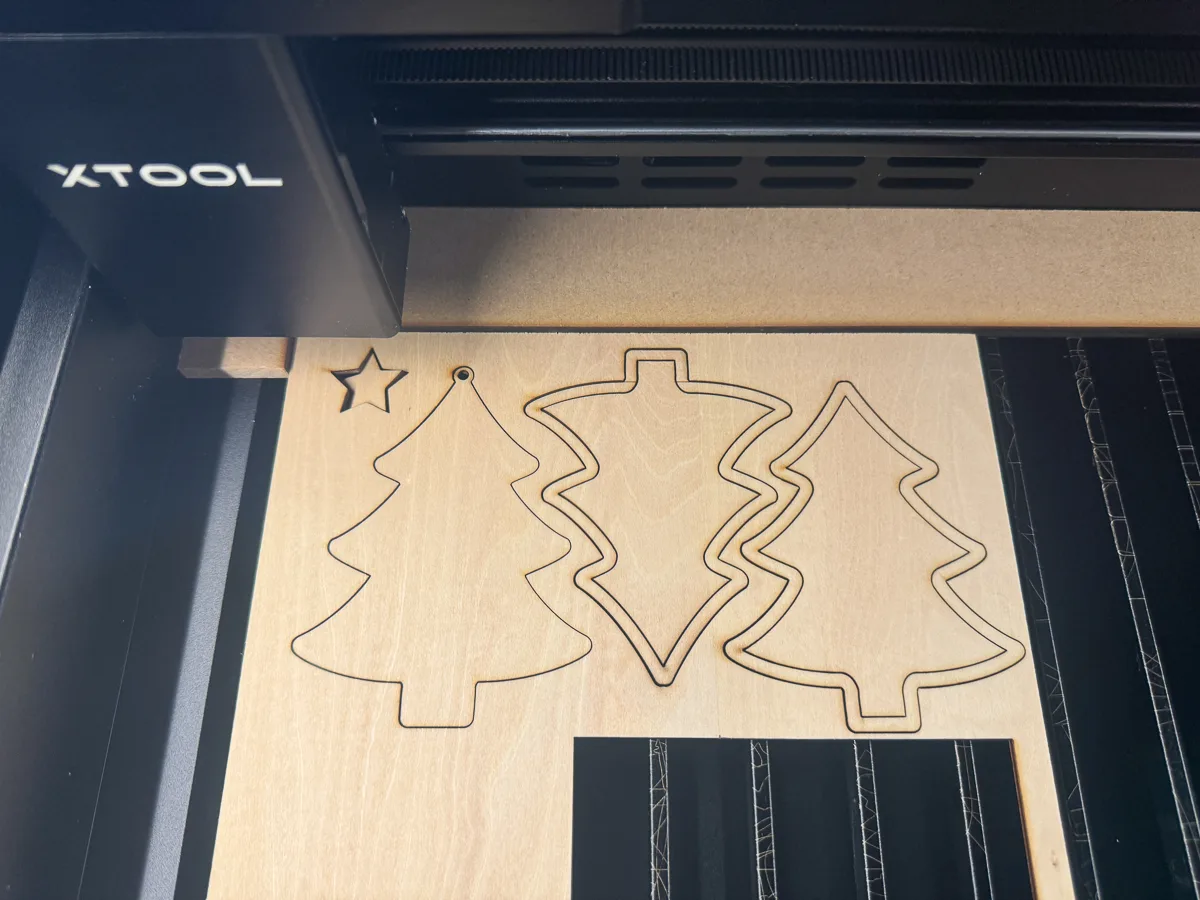
I gave all the wooden pieces a light coat of craft paint, which allowed the wood grain to show through. Then I used CA glue to attach the spacer to the base and filled the inside with glitter!
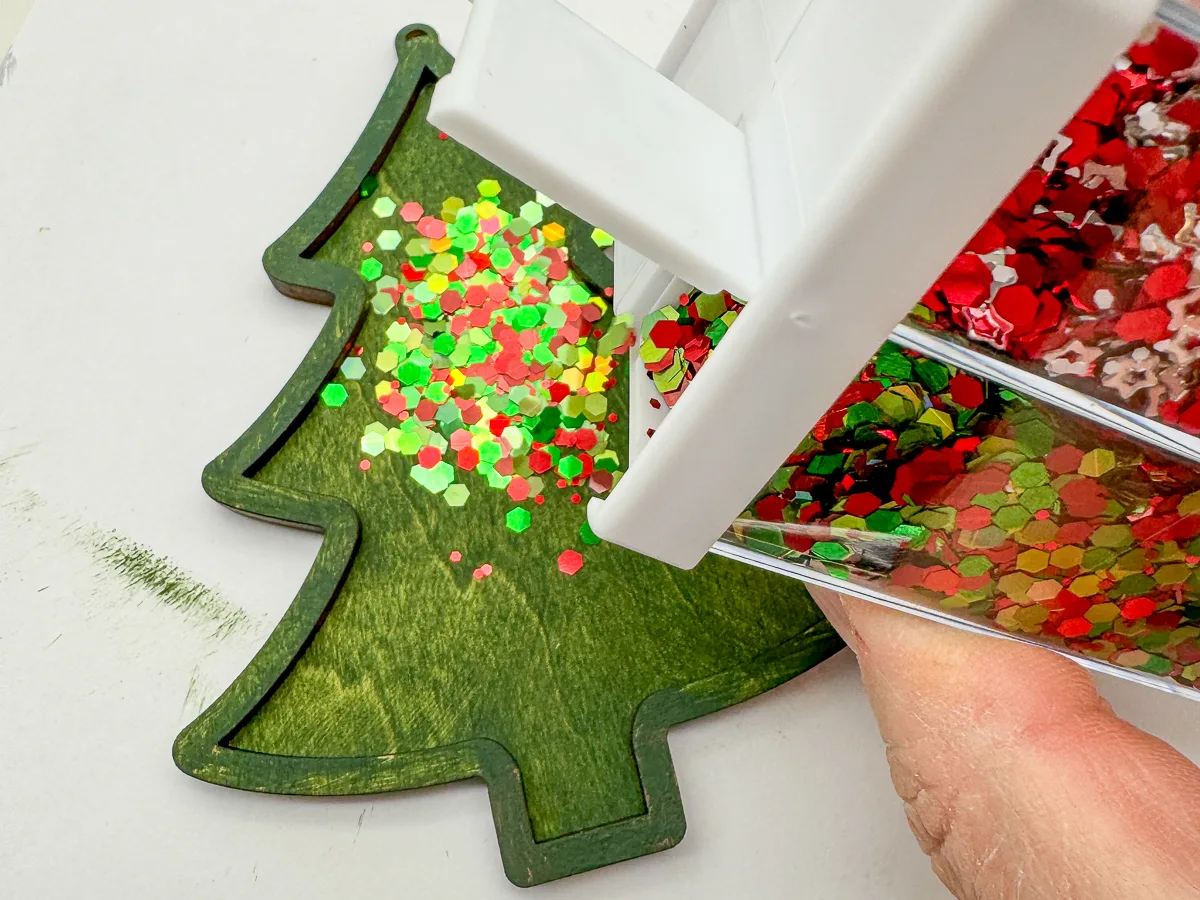
Add the acrylic layer, the frame and the star at the top to finish your ornament!
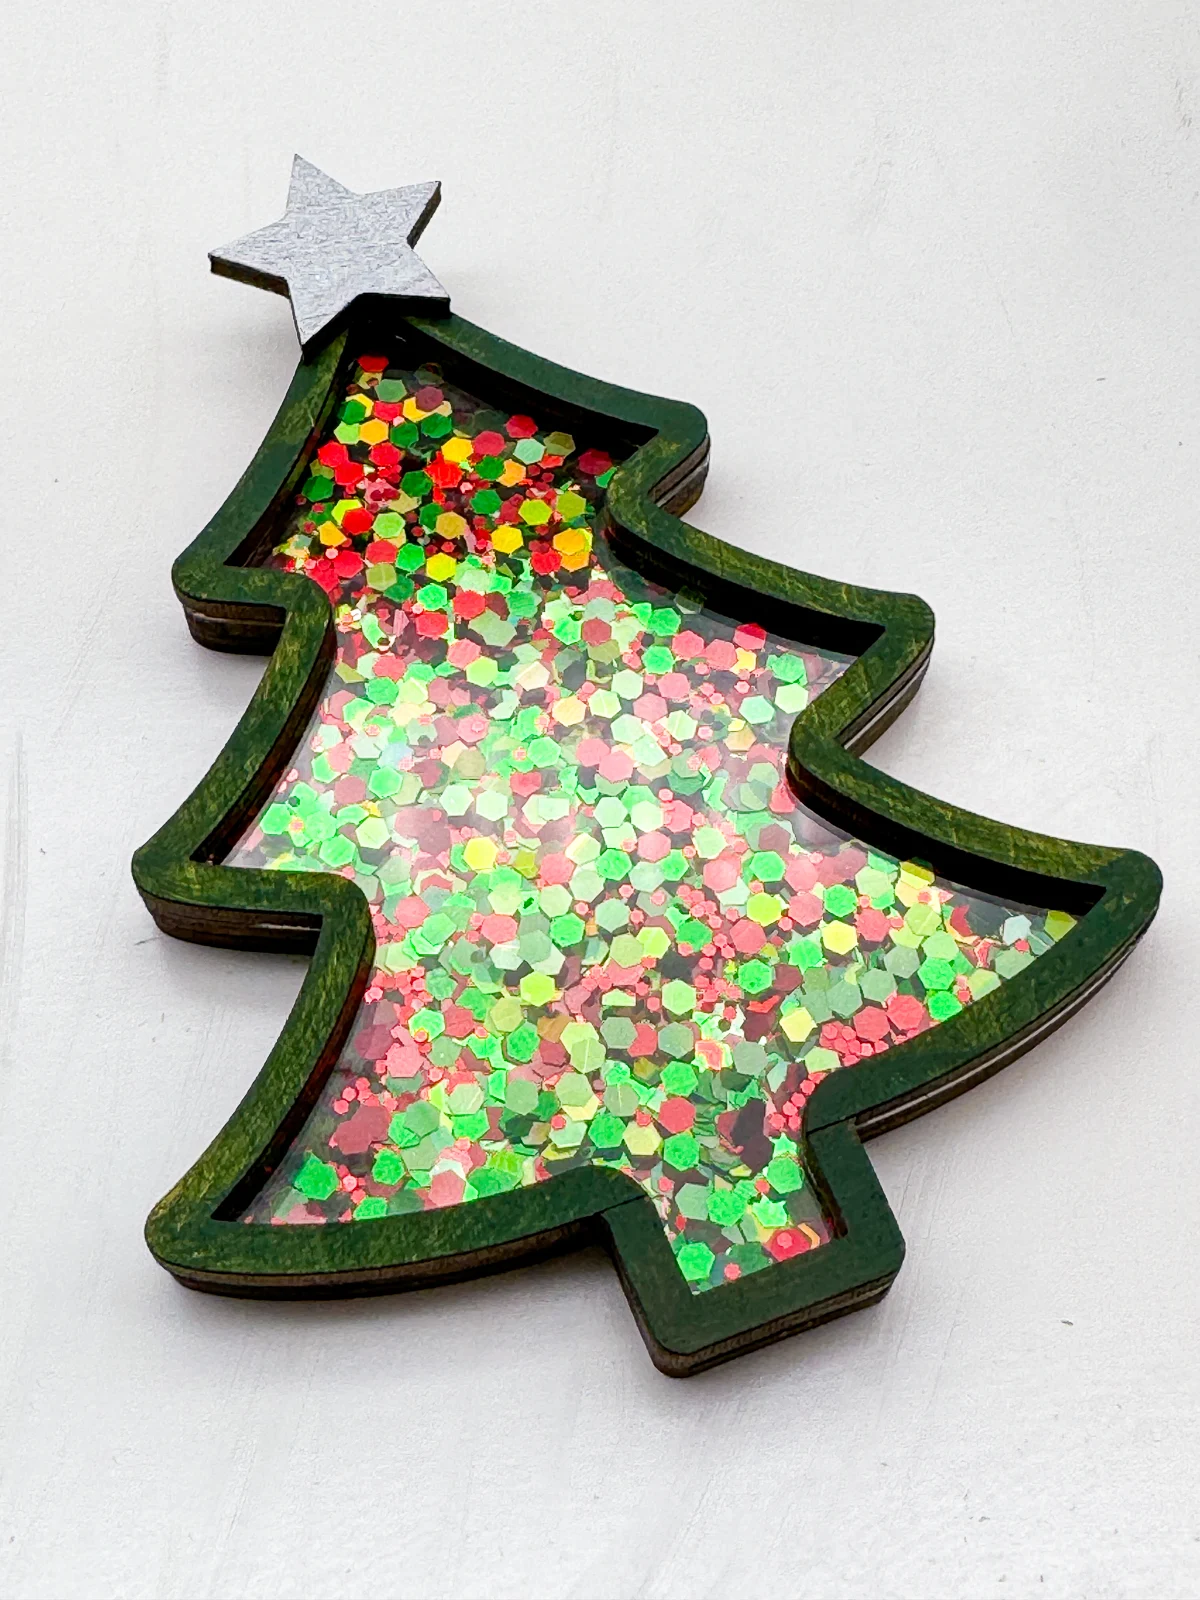
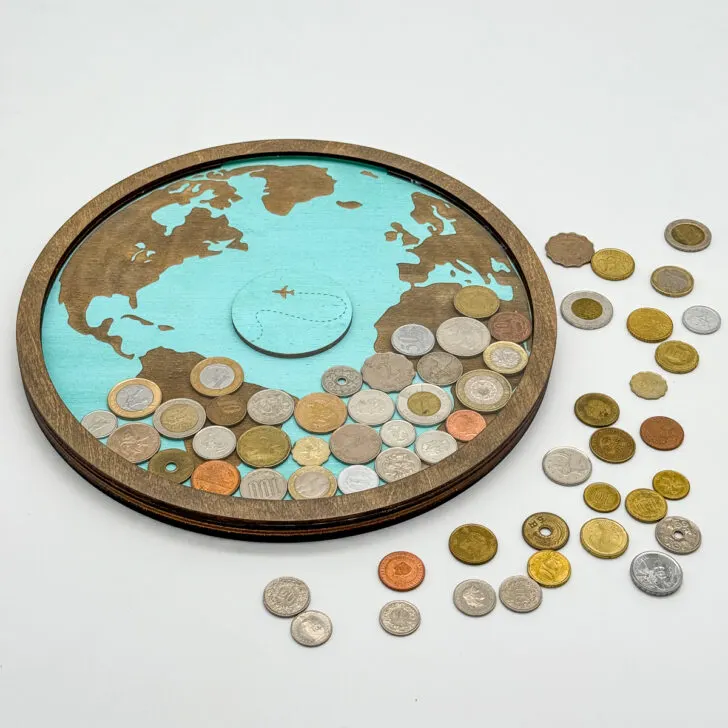
I used a similar technique to create this DIY coin holder to display our foreign currency collection. I just left a gap at the top so you can drop coins through the slot.

Acrylic Snowflake Ornament
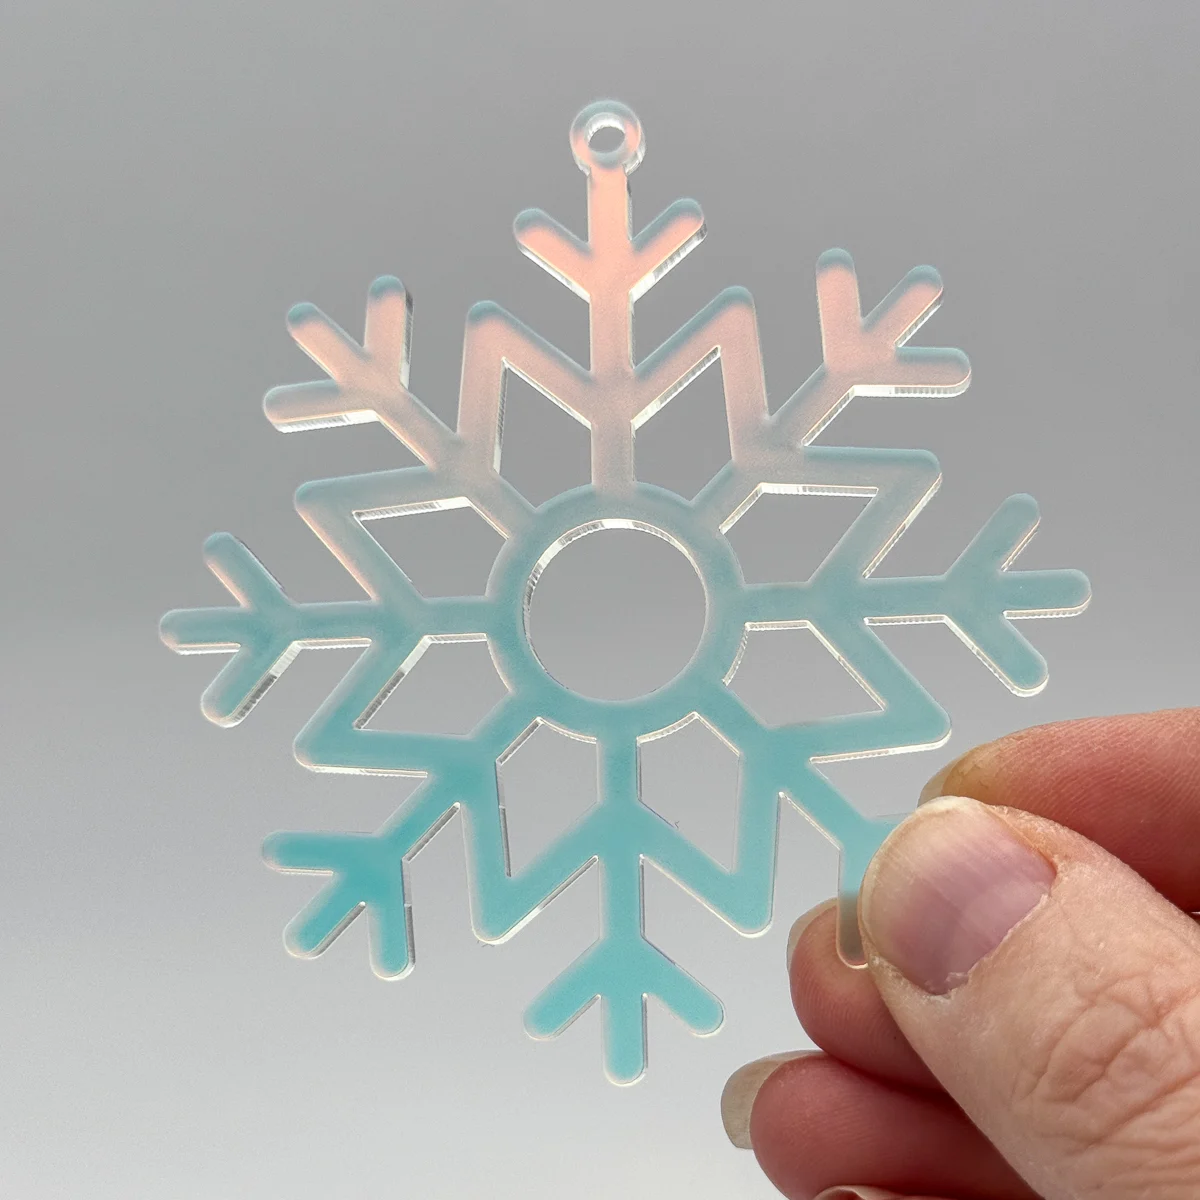
My final laser cut ornament design is simple yet gorgeous! I'm using xTool's iridescent acrylics to create snowflake ornaments that change color depending on the angle.
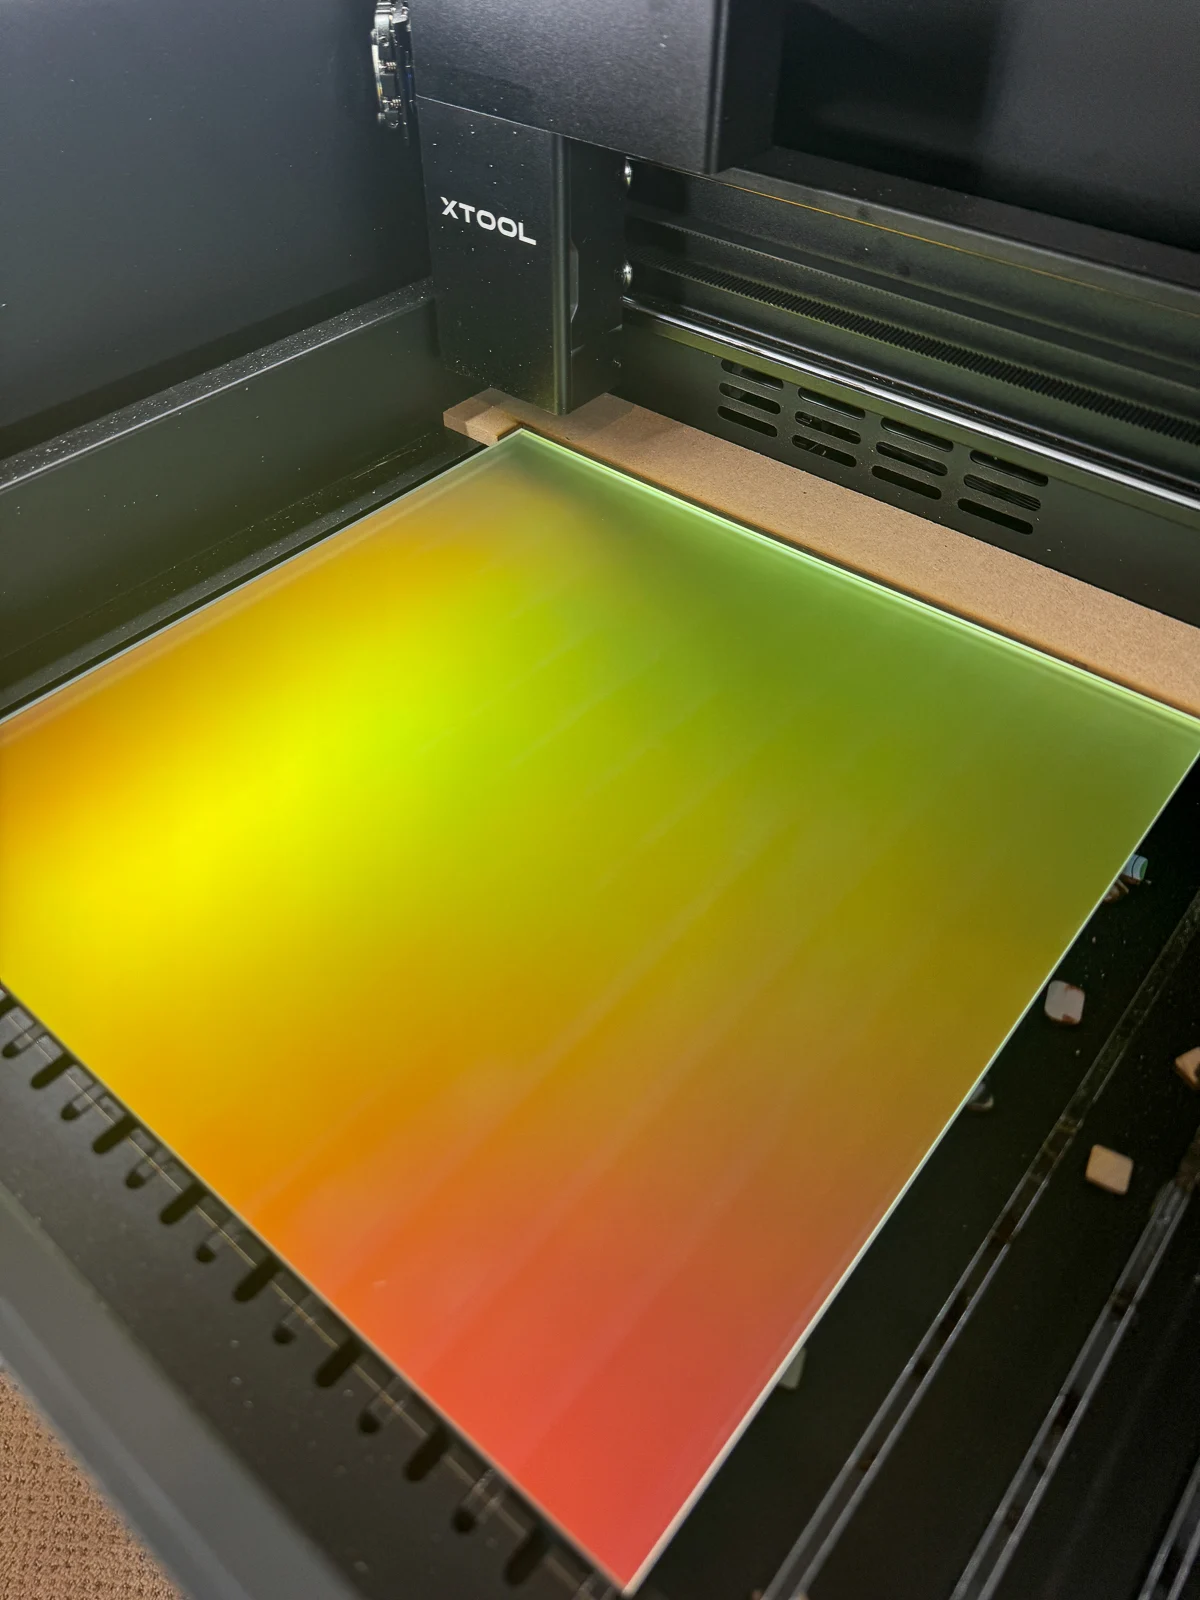
The design for these laser cut Christmas ornaments couldn't be simpler. I just searched on Canva for snowflake graphics, chose my favorites, and downloaded them as an SVG file (you'll need a Pro account for this setting).
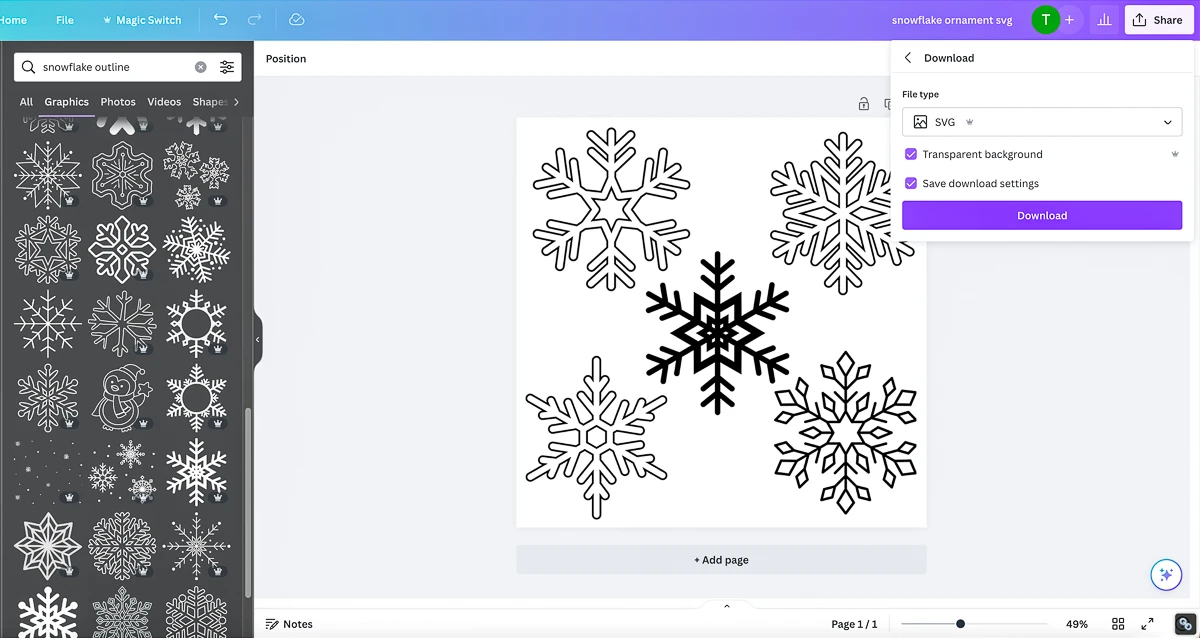
Sometimes the SVG files don't look the way you expected. Some of my snowflakes imported with double lines around the outside, because they were outline drawings instead of solid lines. Oops! There are ways to fix it, but I usually just choose a bunch of different designs at first and delete the weird ones.
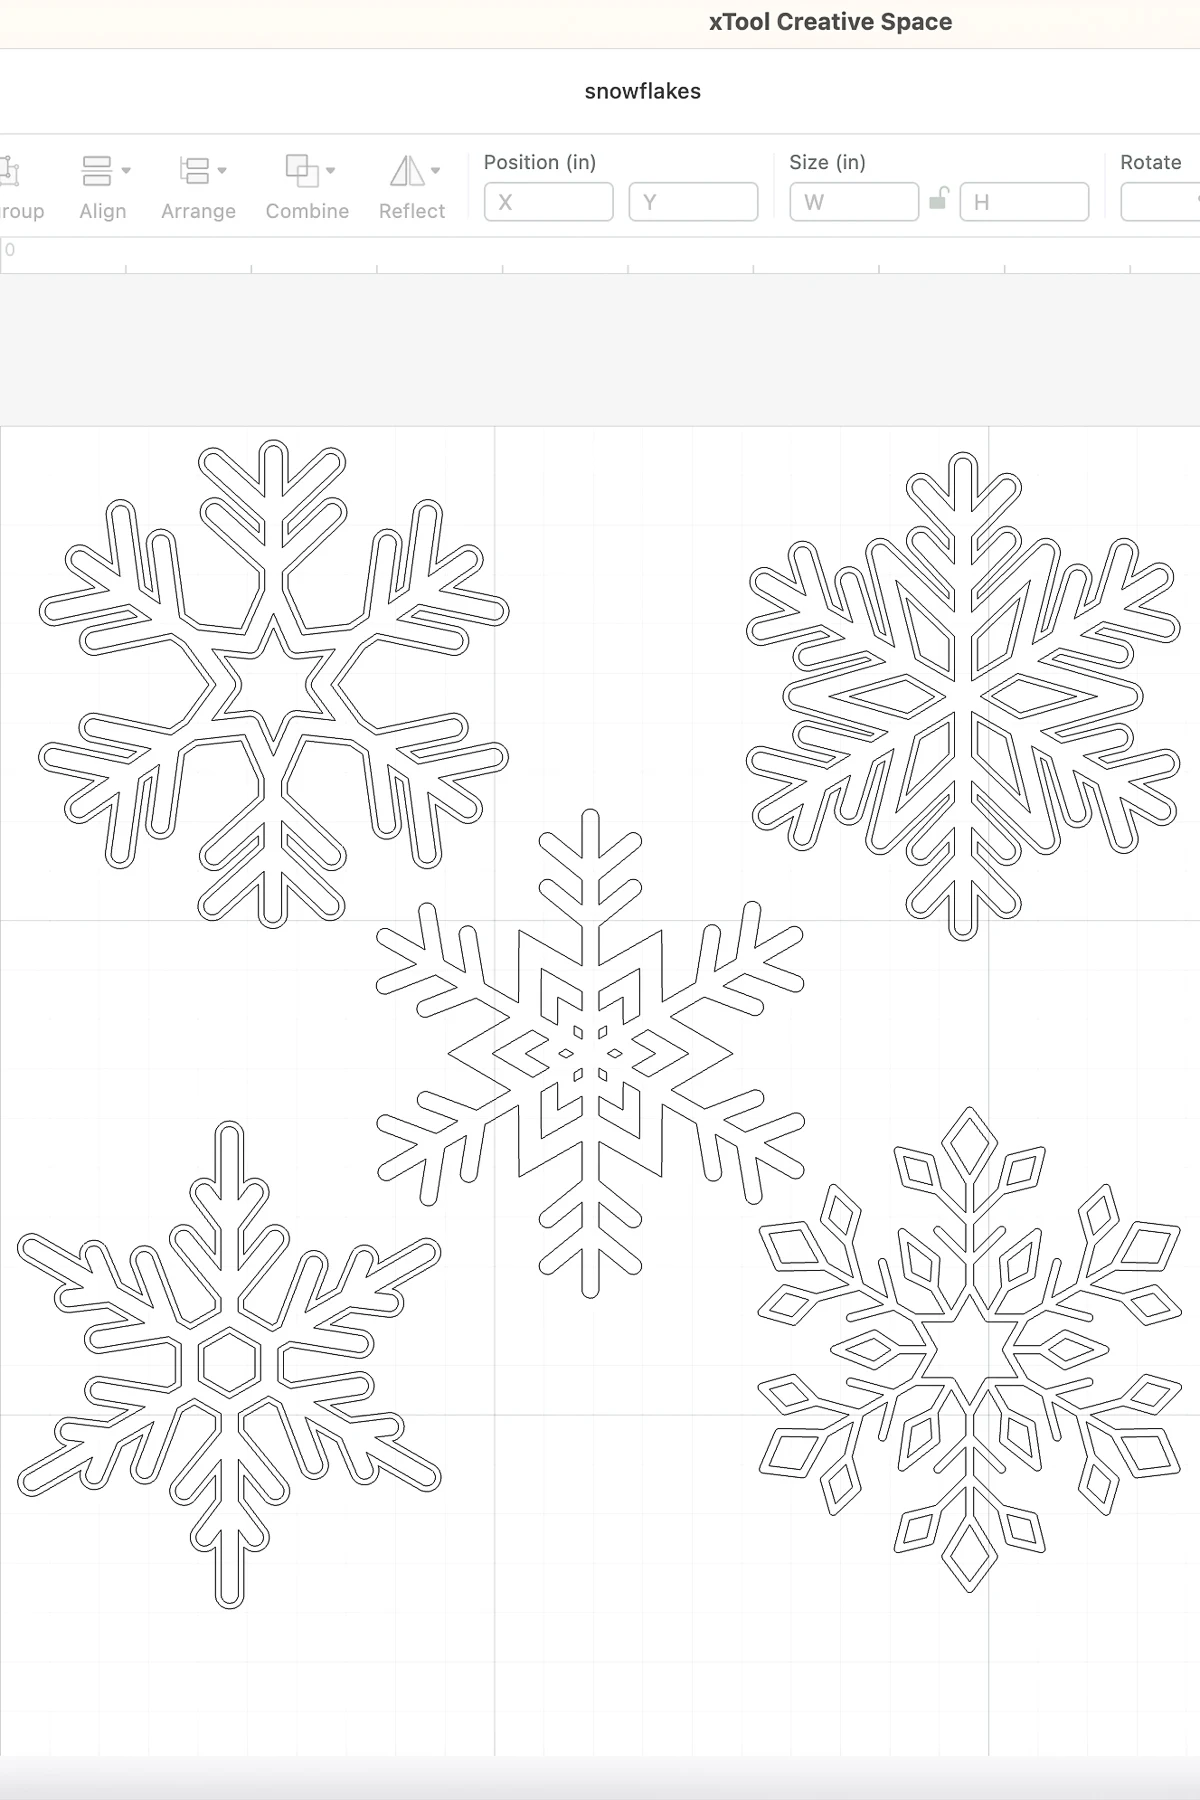
Scale each snowflake down to ornament size (usually 3-4 inches). Add a circle to the top of each one, and unite it to create the area for the loop. Then add a smaller circle inside of it. Now you're ready to cut!
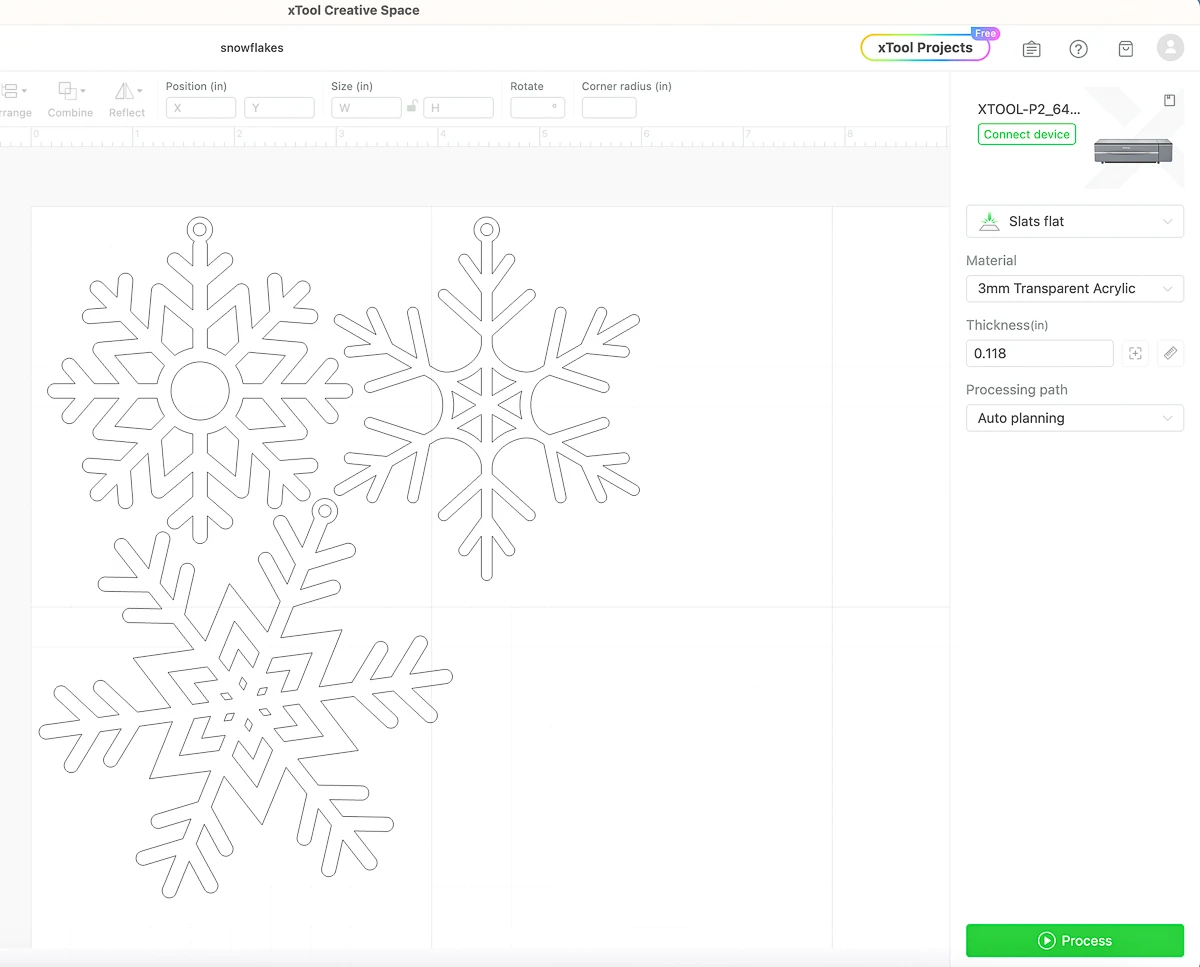
In less than a minute, these iridescent acrylic snowflake ornaments were ready to hang on the tree!
You could even go a step further and personalize each ornament with a name or the date! This video from xTool shows how to join letters together in xTool Creative Space, so you can cut out a name as one piece.
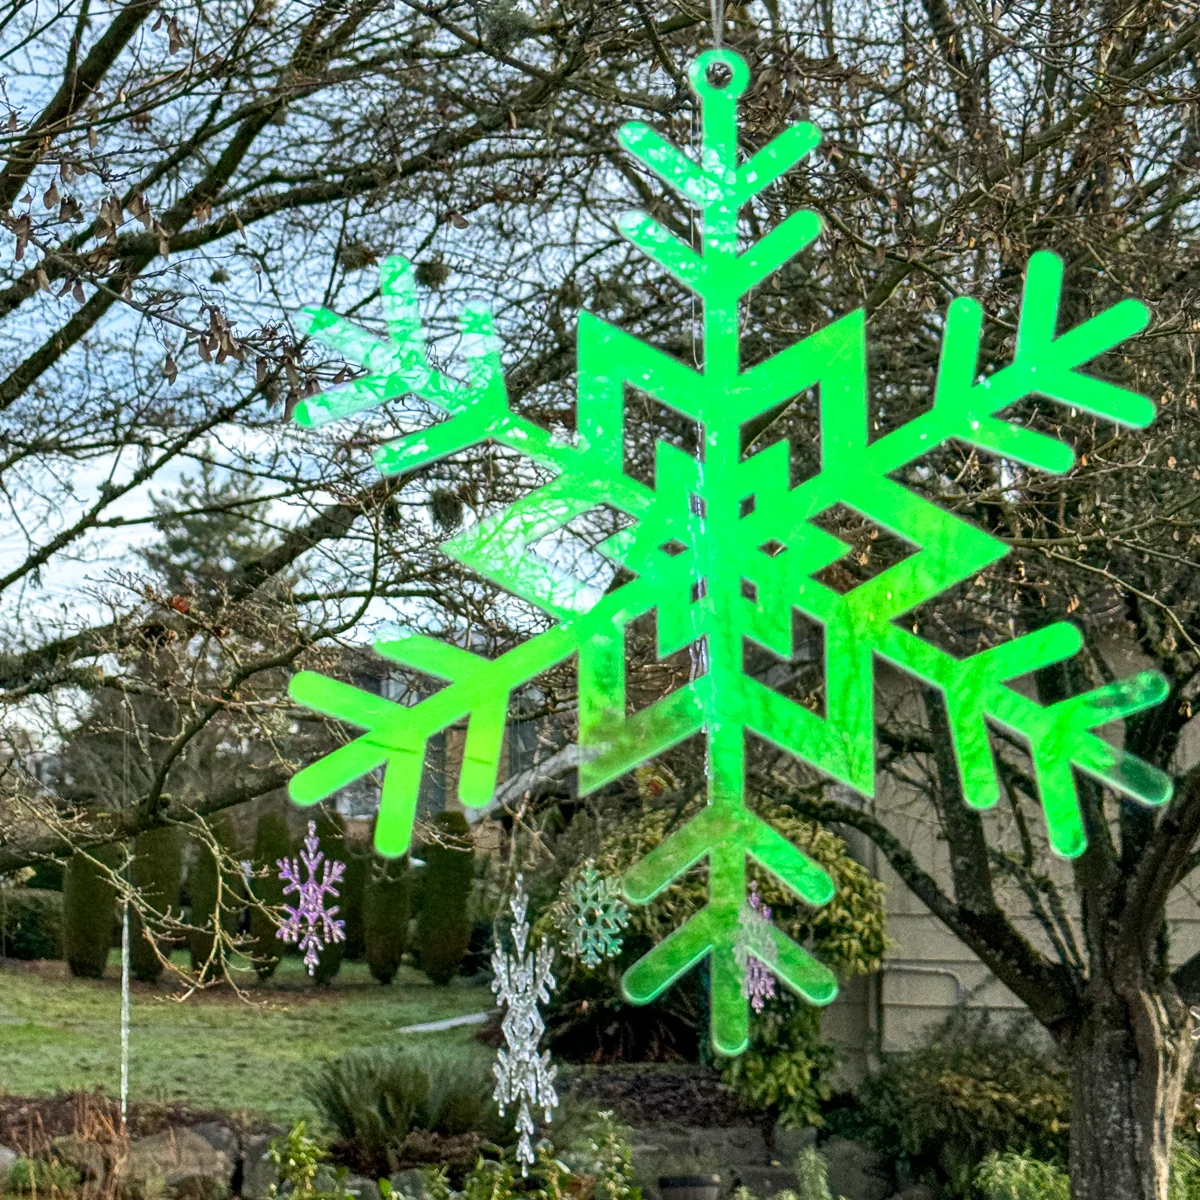
I used the same file and acrylic to create giant snowflakes to hang in the trees in our front yard. They look beautiful spinning in the wind and catching the light!
So which of these laser cut ornaments is your favorite? Let me know in the comments below!


Neil
Friday 1st of December 2023
Love the glitter filled one. I have been looking for new ideas and that one lends itself to just about anything.