Old wallpaper can make a space feel dated. This tutorial shows you how to remove wallpaper three different ways to give your room a new look!
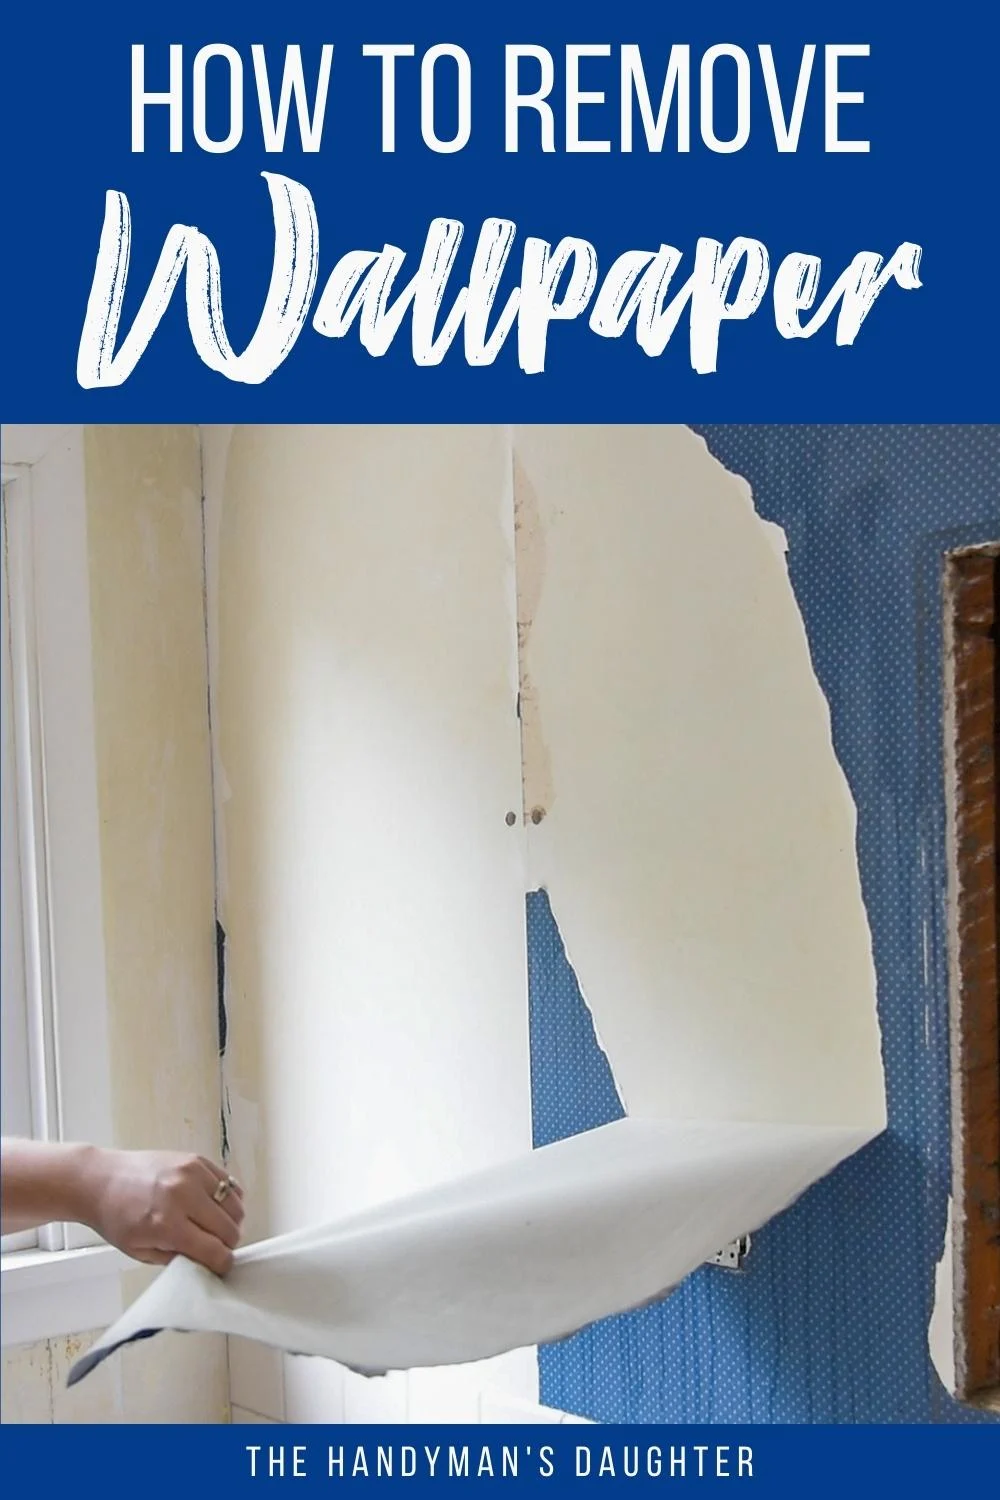
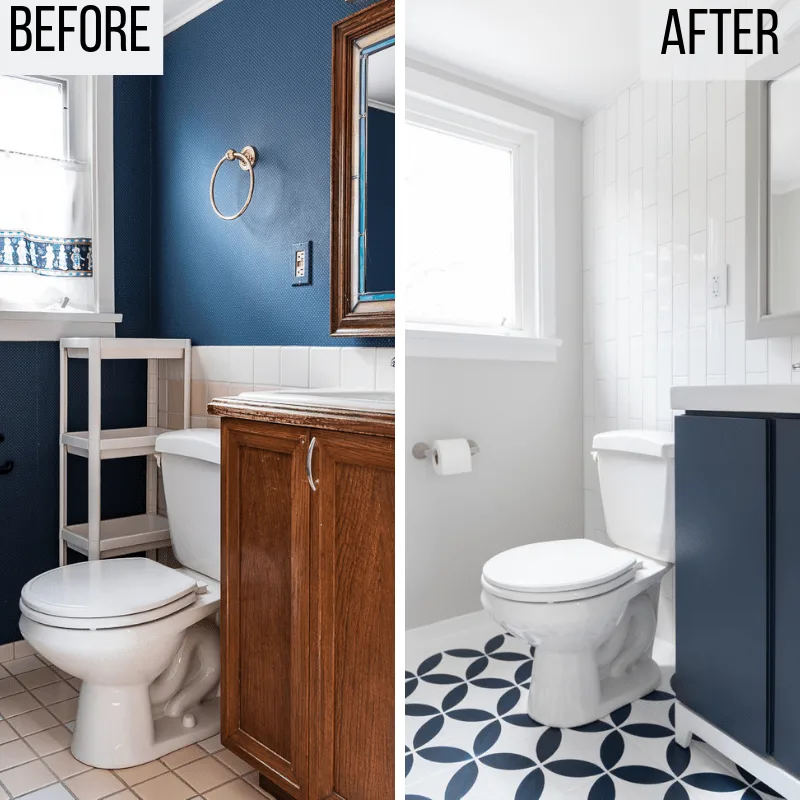
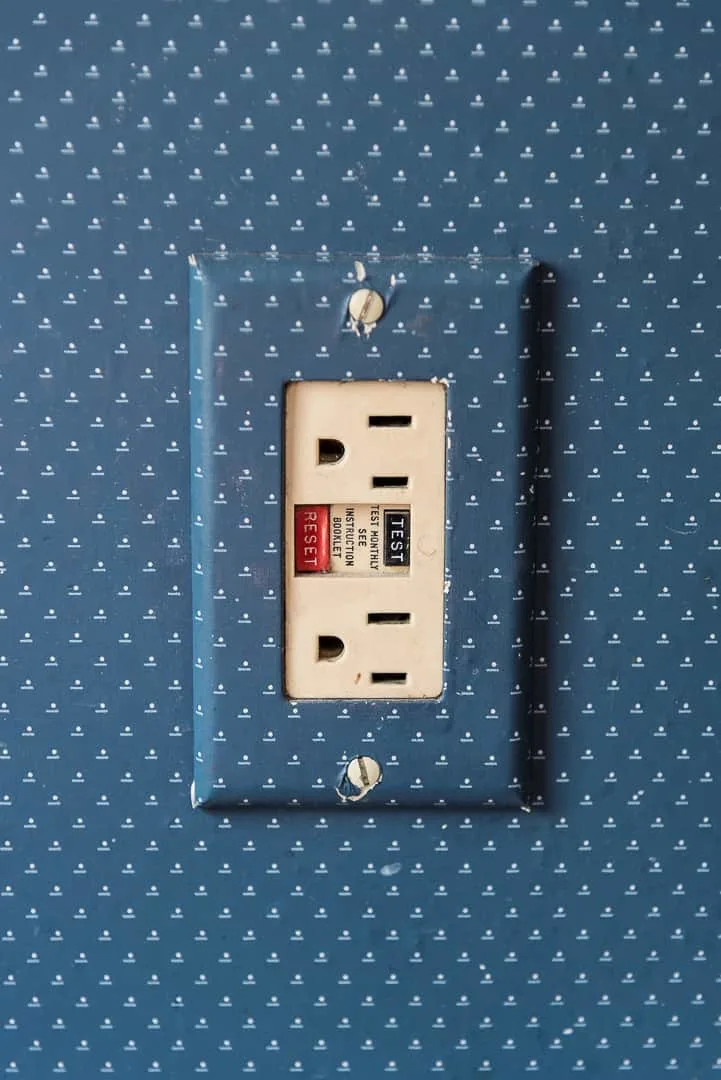
When we bought our house, the upstairs half bathroom was covered with this dark blue wallpaper with a tiny white pattern that made you a little dizzy when you looked at it too long. Even the outlet covers had wallpaper!
I've hung textured wallpaper before, but didn't have any experience taking it down, so I researched the heck out of the process first. I had heard plenty of wallpaper removal horror stories, and I wanted to make sure I did it right from the start.
If you're really dreading this job, check out this article on painting over wallpaper to see if it's a good option for you!
This post contains affiliate links for your convenience. Purchases made through these links may earn me a small commission at no additional cost to you. Please visit my disclosures page for more information.
Before you start removing wallpaper
This is a messy job, so it helps to be prepared before you start peeling.
Protect the floor
If you're working in an area with carpet or hardwood floors, you don't want to get sticky glue all over it. Lay down a sheet of plastic or a canvas drop cloth to protect the floor.
Before you start spraying, protect your baseboards as well. You don't want a lot of moisture pooling at the bottom of the wall, so place a few old towels in the area to catch the drips.
Remove items from the wall
Take off any hanging pictures, towel rods or anything else that is mounted to the wall. This includes light switch plates and heating vent covers. As you'll see later on, that exposed edge might be a great spot to start pulling wallpaper!
Be sure to cover outlets and light switches with tape after the covers are removed. You don't want steam or spray to get into these electrical areas and accidentally get shocked!
Get the trash bags ready
You'll be making a mountain of trash, so get those trash bags ready! Clean up slivers of paper as you remove them, so you don't end up tracking them through the house and getting wallpaper paste everywhere!
Wallpaper Removal Methods
There are three main ways to remove wallpaper. Which one you choose depends on the type of wallpaper you have, and you may need to mix and match methods to get the best results.
- Scraping
- Scoring and spraying
- Steaming
The wallpaper in our half bath is very paper-y and thin, so a combination of scoring, spraying and scraping worked best. If you have thicker wallpaper, such as vinyl, it can be difficult to penetrate the layers. Steaming works best for that type of situation.
Scraping Method
If your wallpaper is really old, or is already starting to peel, a little scraping might be all you need to do. Look for loose areas, and just give it a gentle tug to see what happens!
I started by removing all the fixtures from the walls. After I took the heating vent cover off, I noticed that the excess wallpaper was folded into it.
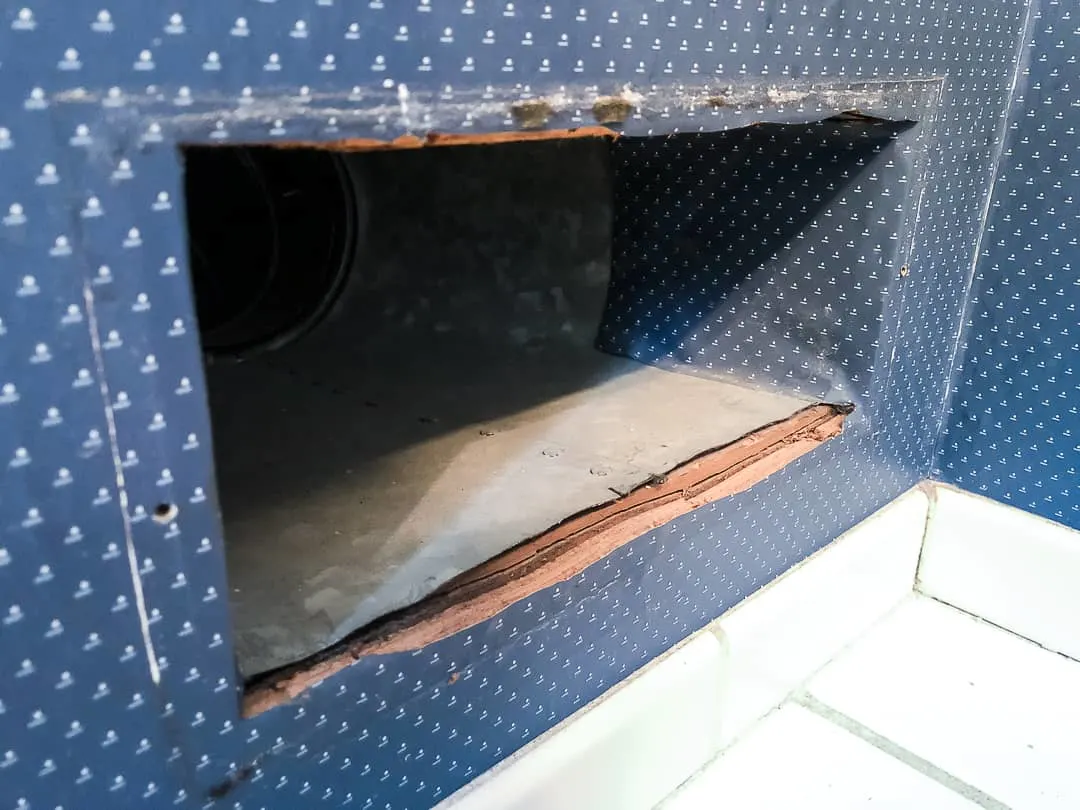
Just out of curiosity, I gave it a pull...and it came off in one whole sheet!
Well, that was easy! Maybe the heat from the vent loosened the glue over the years? There's no way the rest of the wall will go that smoothly, right?
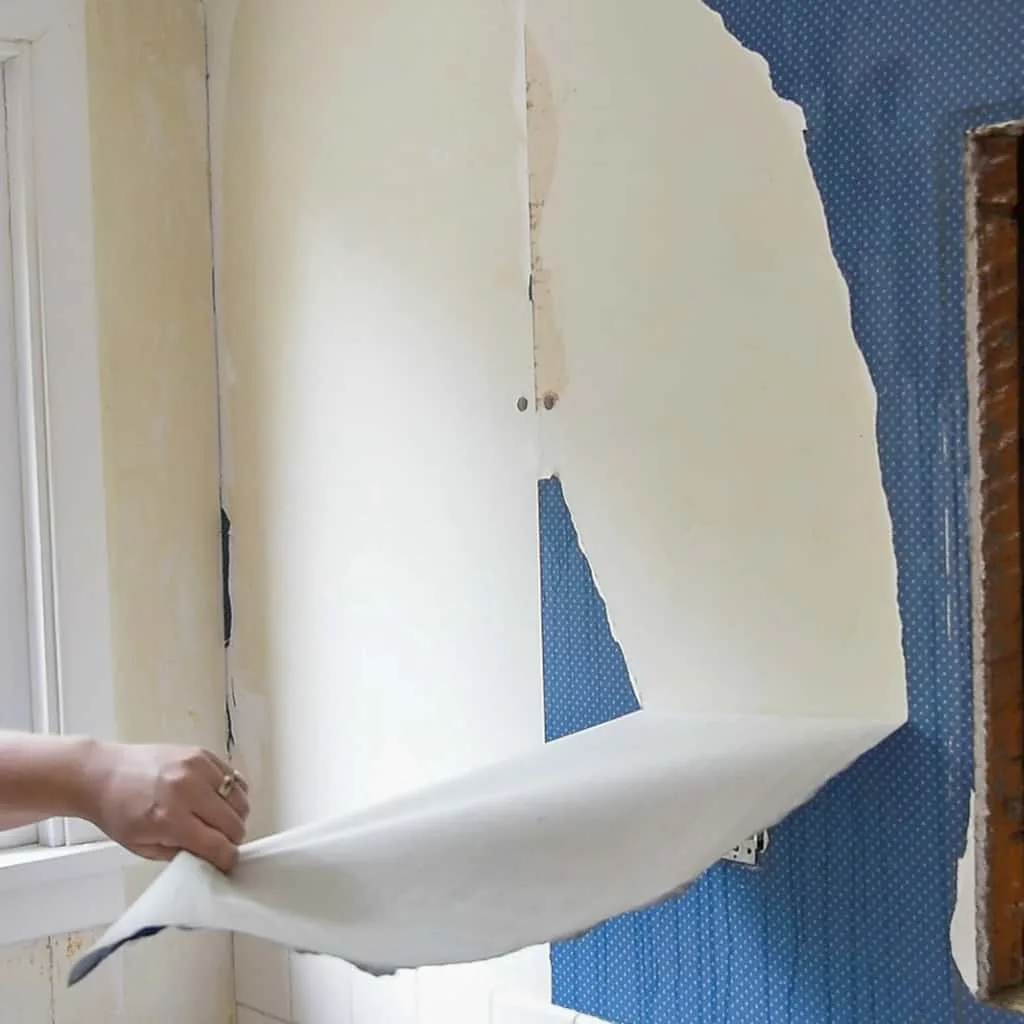
I totally lucked out, because most of the wallpaper peeled off in giant chunks like this! Sometimes you may need to use a wallpaper scraping tool or a putty knife to get an edge started, then slide it under the surface to prevent it from ripping as you pull.
If you're using a metal putty knife or a scraping tool with a long blade, round over the corners with sandpaper to prevent scratching the wall. Hold it at an angle so the blade just skims the surface, rather than digging in.
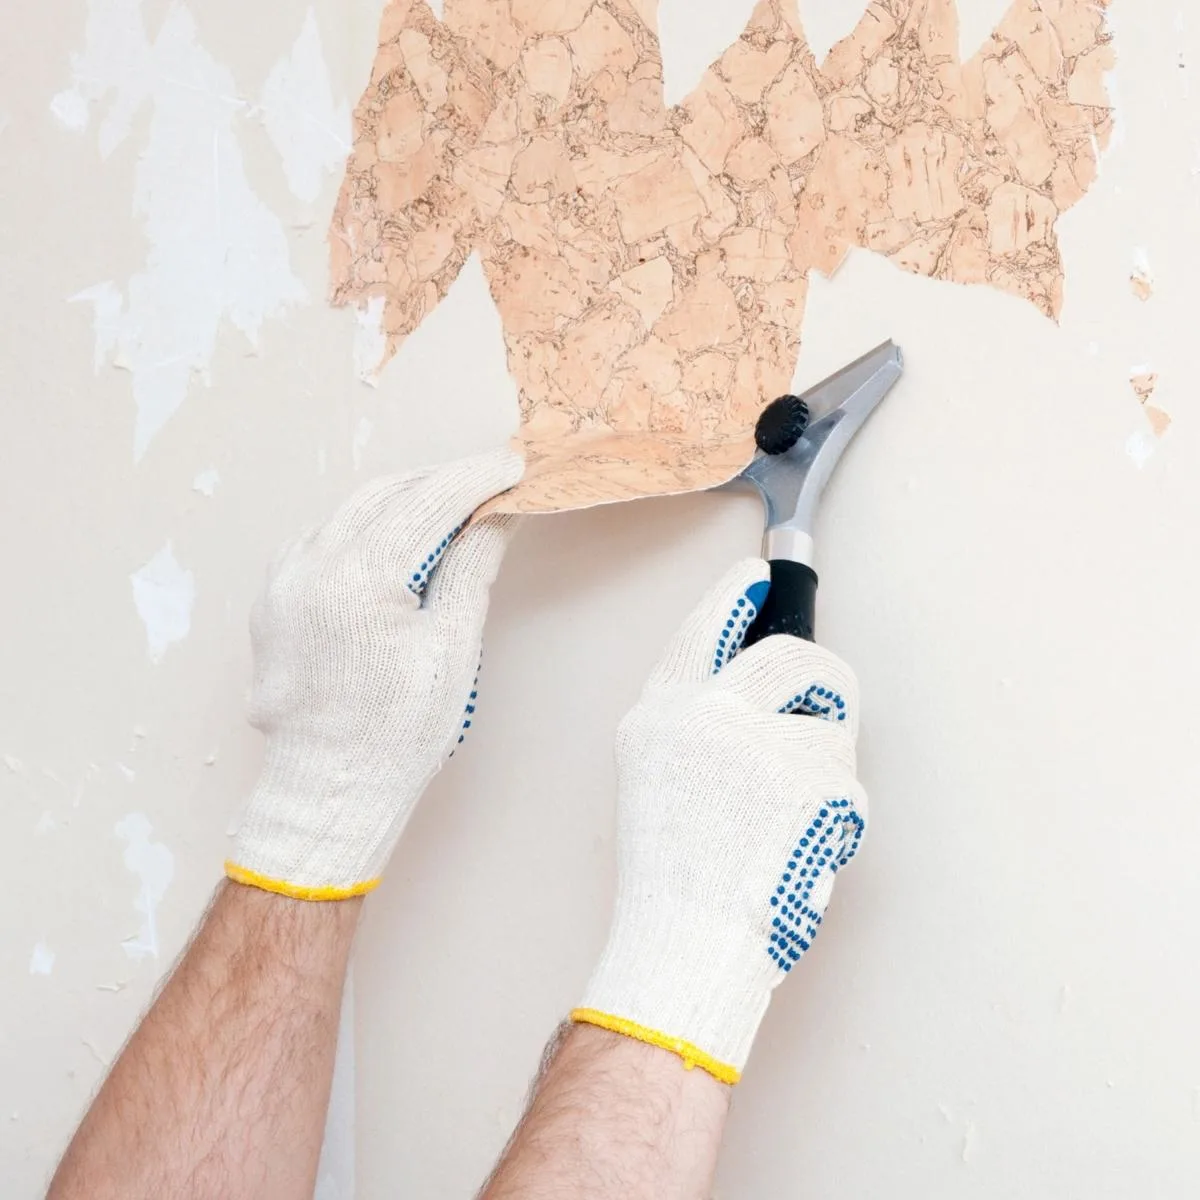
I recommend trying the scraping method first, because it's the easiest and makes the least amount of mess. Once you start scoring the surface or getting it wet with steam, it can be harder to peel off the wallpaper in big sections because it's more likely to rip.
But if you're not having any luck with the scraping method, it's time to try something else!
Score and Spray Method
Scoring the surface of the wallpaper will allow whatever spray you use to penetrate to the adhesive underneath. If you don't score it first, it will just turn your wallpaper into a soggy mess on top without removing the sticky stuff below.
If you were able to peel off the face of the wallpaper but not the backing, you can skip the scoring step and go straight to spraying!
For large areas, you can use a rolling perforator tool like this one. It creates dozens of tiny holes in the wallpaper just by rolling it over the surface.
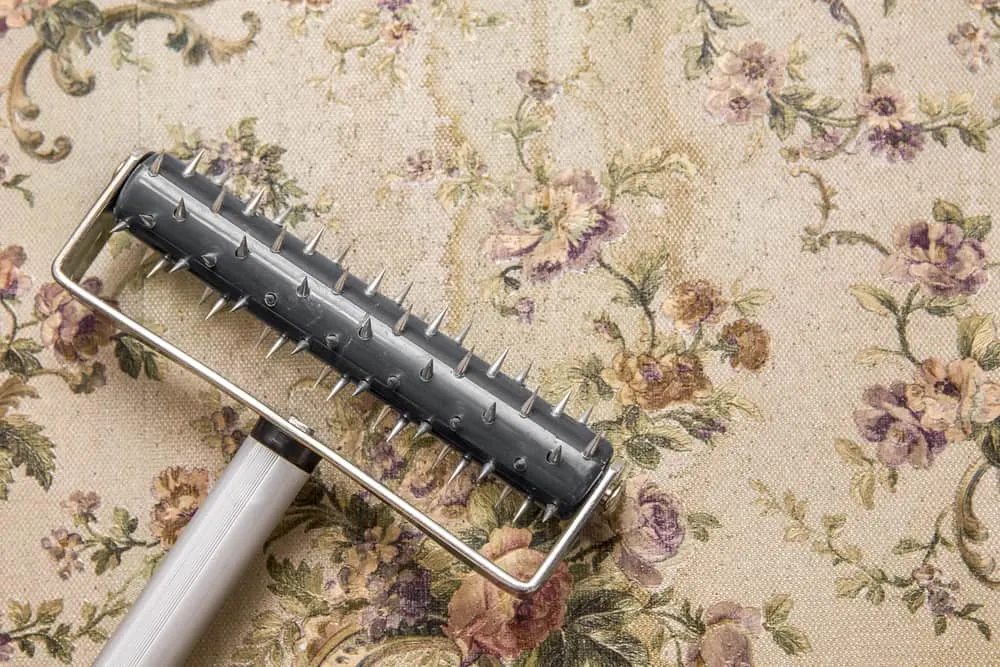
For smaller areas like my half bath, I recommend this handheld scoring tool. Just rub it lightly all over the surface to puncture the decorative paper, but not so hard that you create divots in the drywall below.
Next, spray the surface to saturate the wallpaper and dissolve the paste underneath. You can use a wallpaper remover, vinegar or fabric softener solutions, or even just plain hot water. Allow it to soak in for a few minutes, then test to see if the wallpaper pulls away easily.
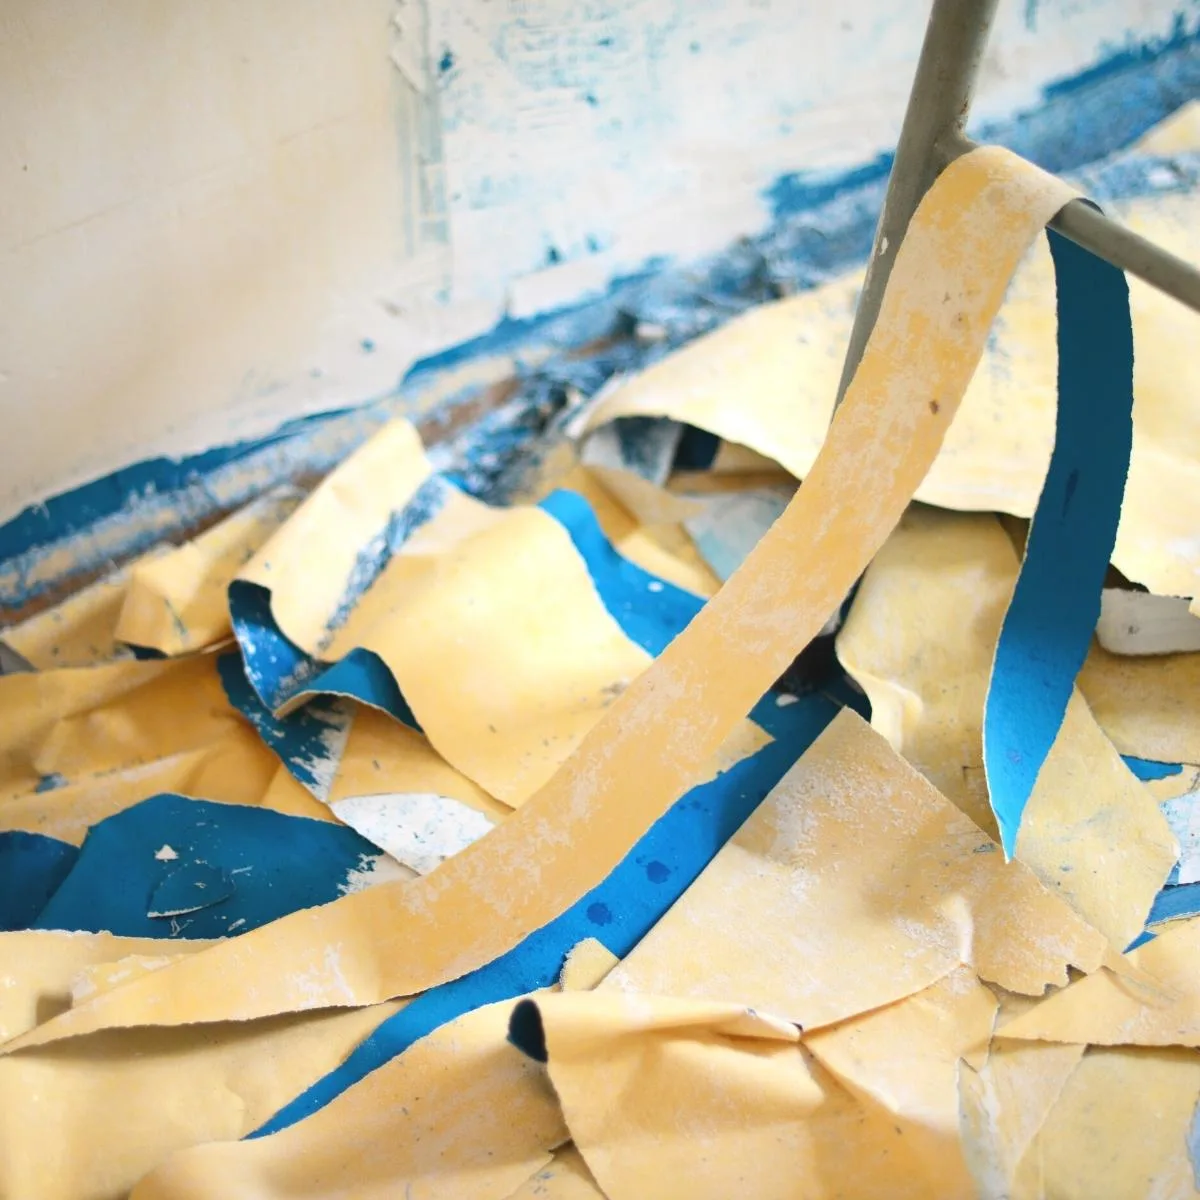
There were a few stubborn spots on my walls, especially at the seams where extra wallpaper paste had been applied. I sprayed wallpaper remover on those areas and let it sit for a few minutes. Once it loosened up the glue, I was able to pull it off in one long strip!
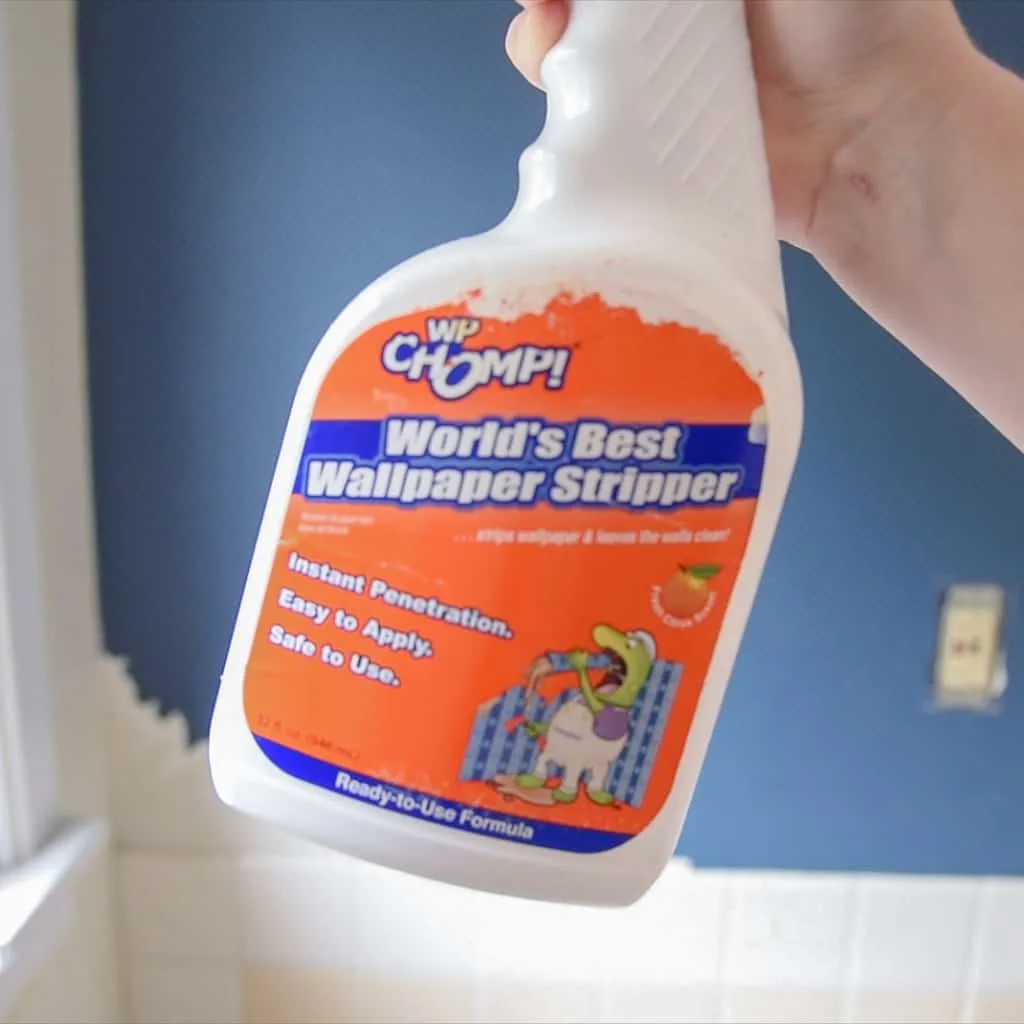
There were a few spots where the facing of the wallpaper pulled off but the paper backing stuck to the wall. A few sprays with the wallpaper remover and a quick scrape turned them to mush and it came off easily. This scraping tool keeps the blade at the correct angle so you don't accidentally scratch the drywall.
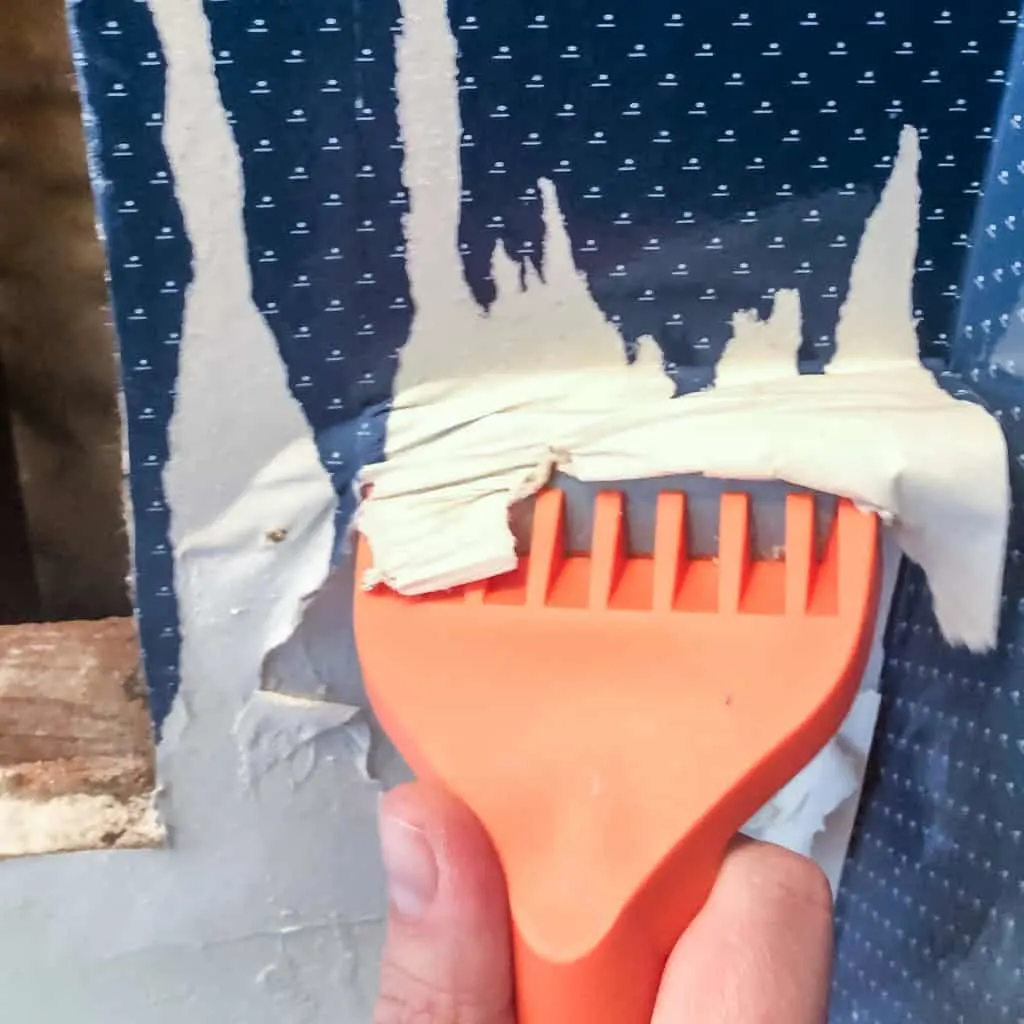
This method is sticky and time consuming, but it gets the job done! But for really thick or stubborn wallpaper, you may need to resort to more professional tools.
Steaming Method
If you're really struggling with spraying or scraping, you can invest in a wallpaper steamer. These can cost anywhere between $75 and $150, or you can rent them from your local home improvement store. If you have a whole house full of wallpaper to be removed, it might be worth the price!
After the water is heated up, hold the paddle over the bottom section of a strip of wallpaper. The time it takes to loosen up the paste can vary, so test the edge to see if it starts to pull away easily. If it doesn't, let the steamer sit for a few more seconds before checking again.
You might get lucky and be able to peel the wallpaper off in one big section. But most likely, you'll need to use a scraper to remove the wet, sticky paper from the wall before the glue cools.
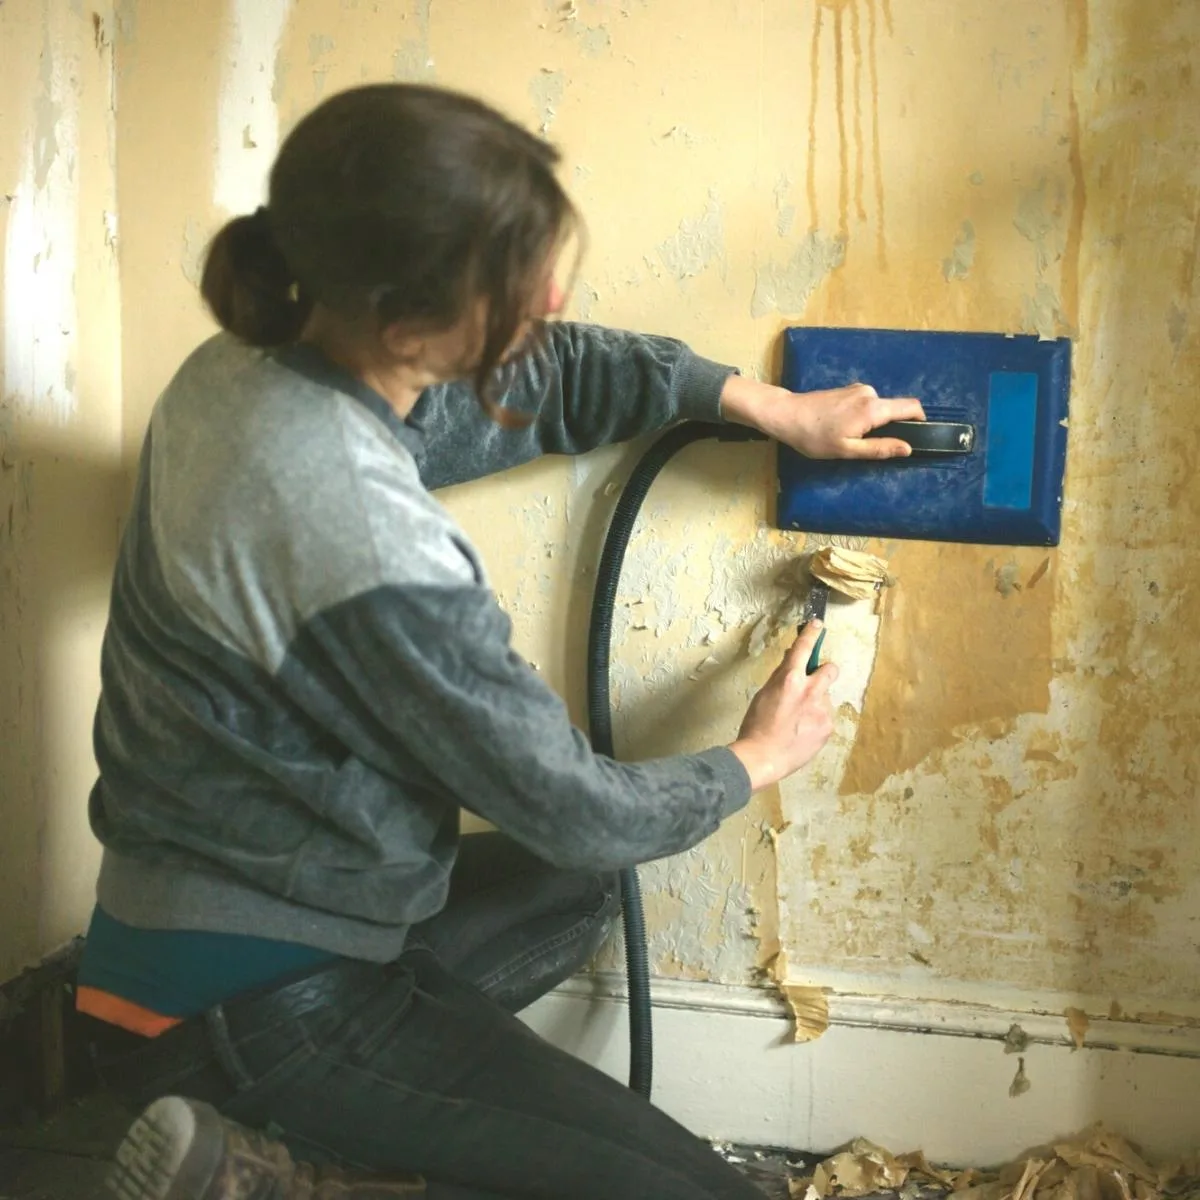
If you're removing vinyl wallpaper or the kind that has a plastic layer on top, you may need to score the surface first to allow the steam to penetrate through. These types of wallpapers were common in bathrooms because they could hold up to steam, so your steamer will need a little extra help!
Clean and Repair the Walls
You may think that you're done after that tacky wallpaper is removed, but there's still a bit more work to do! All that sticky residue needs to be cleaned up and any gouges and rips in the drywall paper need to be repaired before you can paint.
Clean up the glue residue
You know those stubborn price tag stickers that leave a sticky residue behind? Think of your wallpaper like a giant sticker! If you don't remove the wallpaper paste residue properly, your paint won't adhere and your walls will be a mess.
Use a clean sponge or spray bottle to wipe down a section of the wall with water. Areas that still have glue will hold onto water droplets and appear darker.
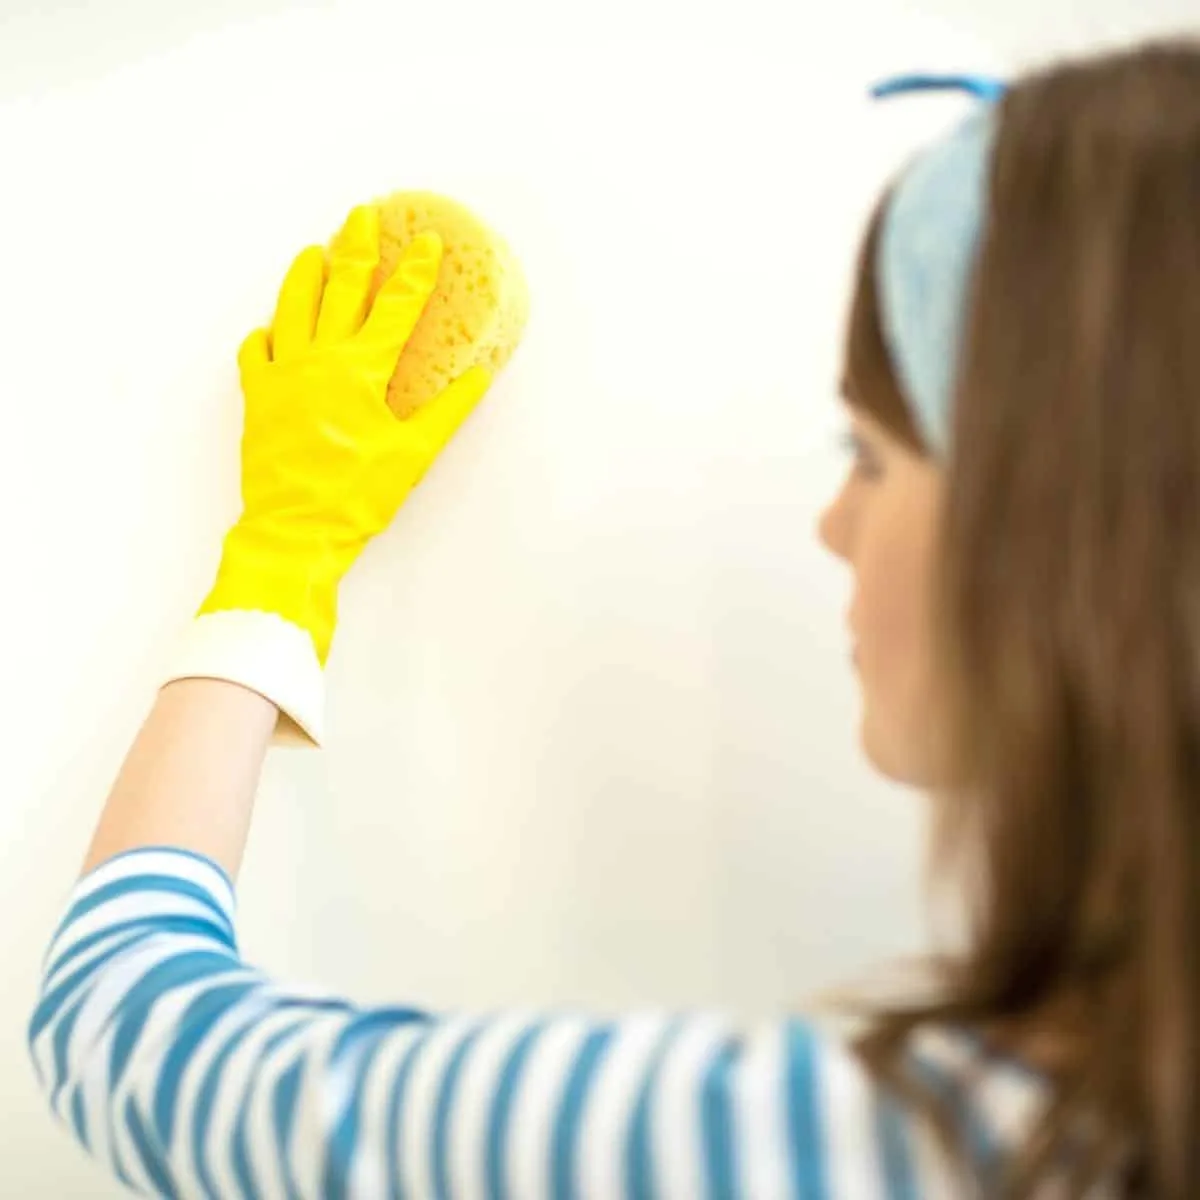
Spray wallpaper remover on these sticky spots and allow it to sit for a few minutes before wiping it away. Gel formulas tend to stay in place longer on vertical surfaces.
Once you're finished with a section, wipe down the wall one last time with water to make sure everything is clean.
Repair the drywall
After all that scraping and peeling, you might have a few areas of damage on the underlying drywall. Don't worry! It's not difficult to fix!
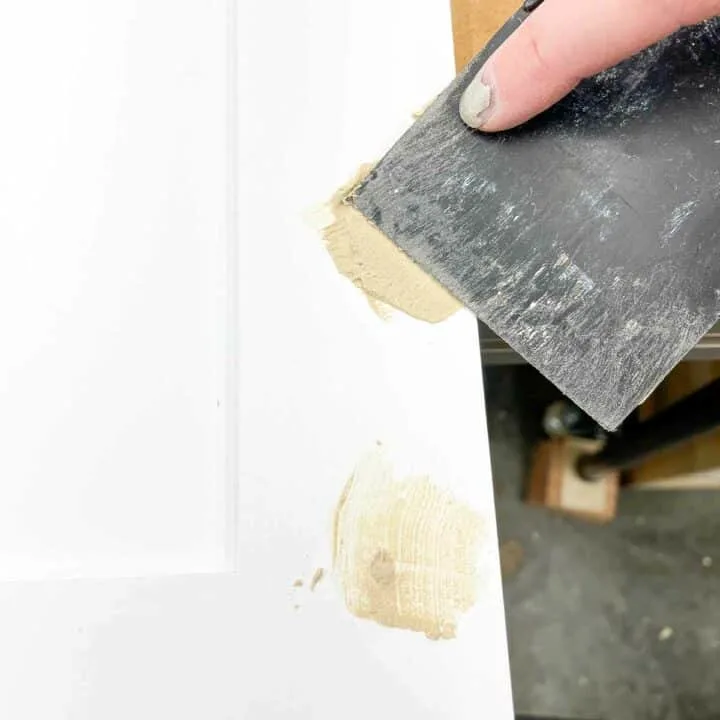
Apply a layer of spackle or drywall compound to any scratches, dents or holes. Overfill the patched areas slightly, because it may shrink or sink into the divot. Once it's dry, sand it smooth.
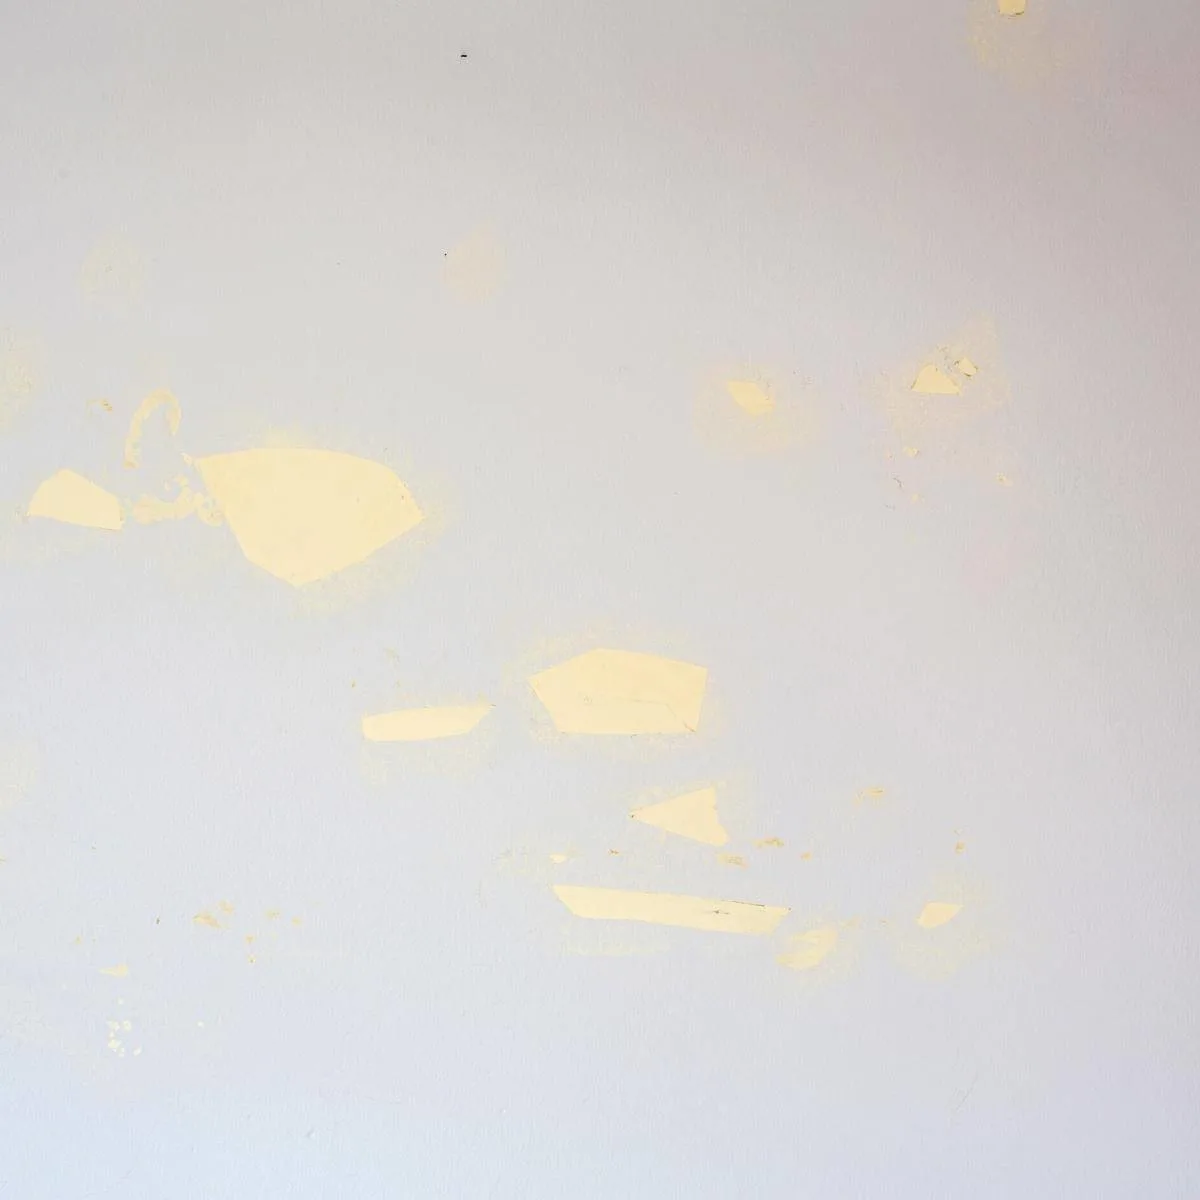
You might also have a few areas where the drywall paper came off with the wallpaper, leaving the brown layer behind.
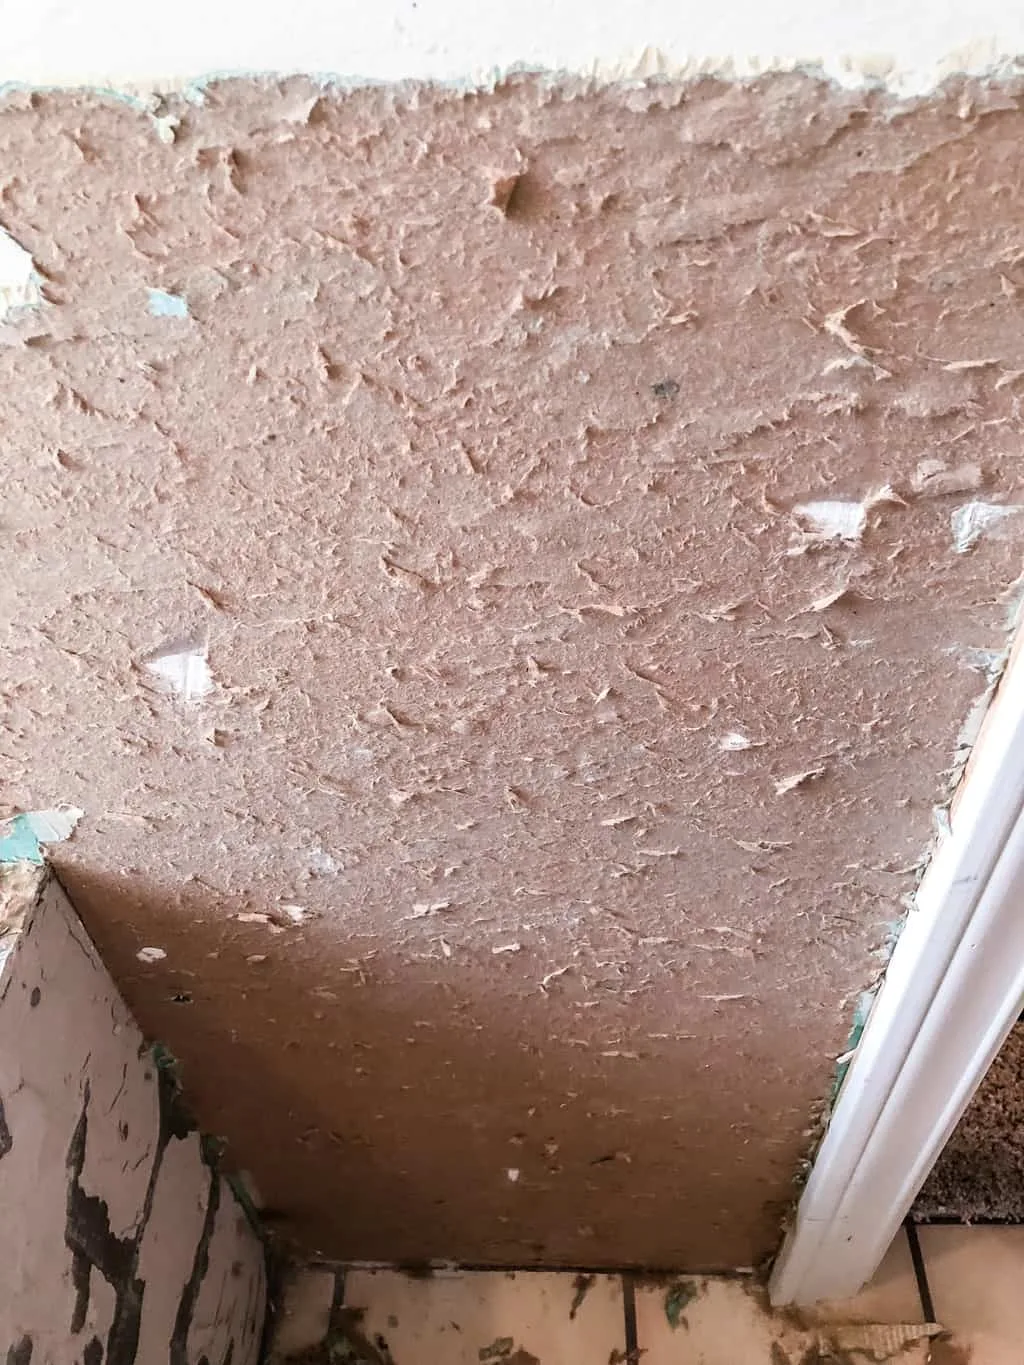
To repair torn drywall paper, you'll need to apply a surface sealer. It creates a seal that prevents the moisture from the paint from seeping into the wall, and hardens the outside to make it look like regular drywall.
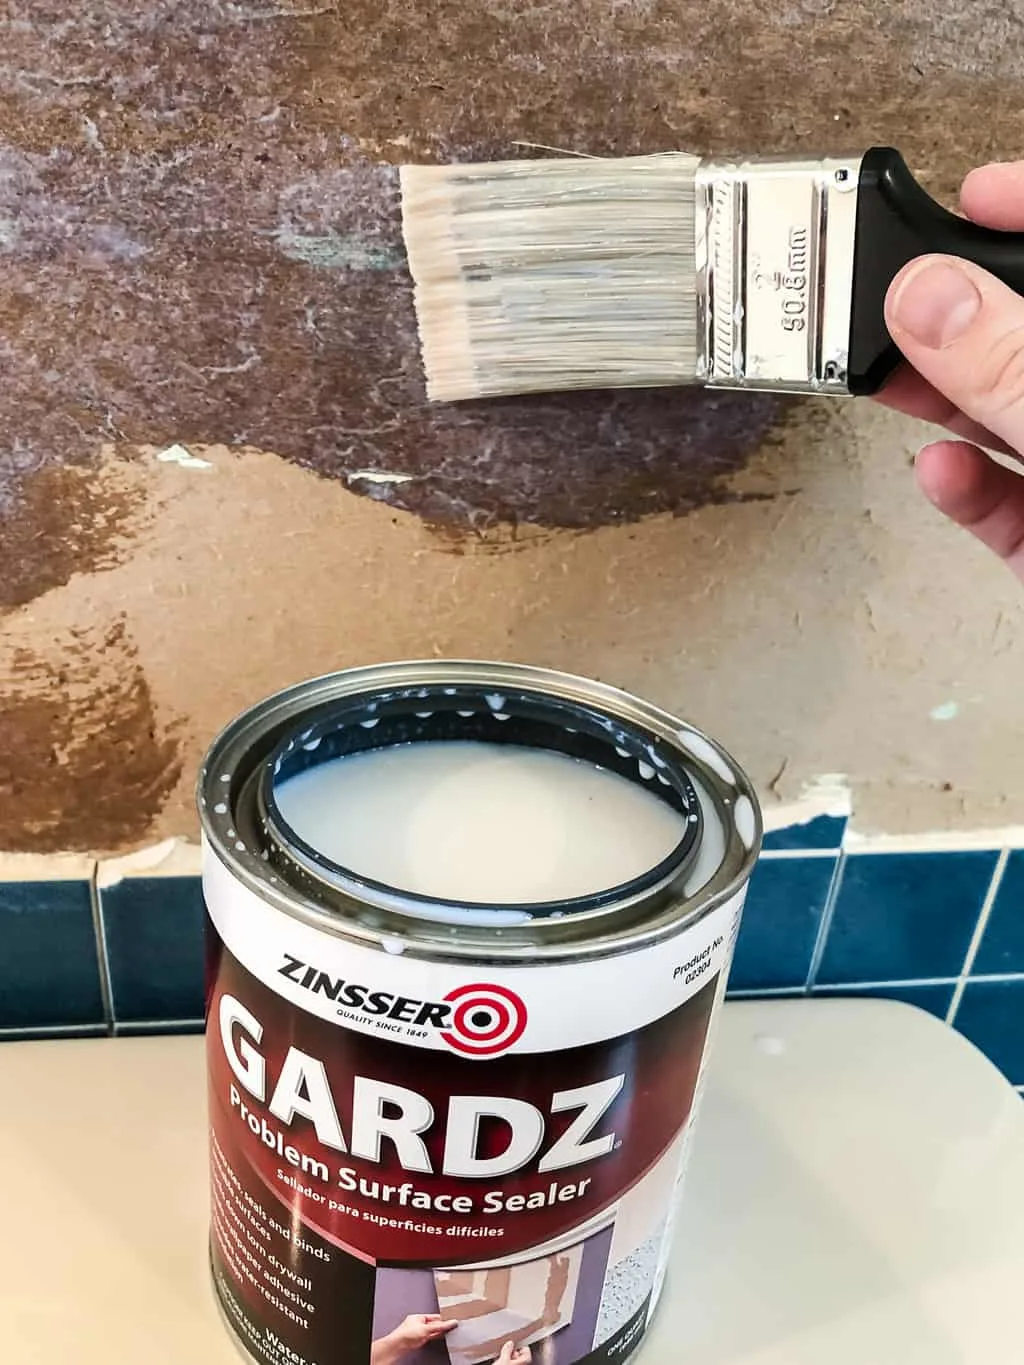
This problem surface sealer says it also seals old wallpaper adhesive so you can paint over it. If you have really stubborn glue, this might be a good solution for you!
It may take a lot of elbow grease, but wallpaper removal can be so satisfying! It totally transformed my half bathroom and made that dark, dated space feel bright and airy!
