I'll show you how to make a cornhole board set with folding legs for easy storage! Get the plans to build your own for your next backyard BBQ!
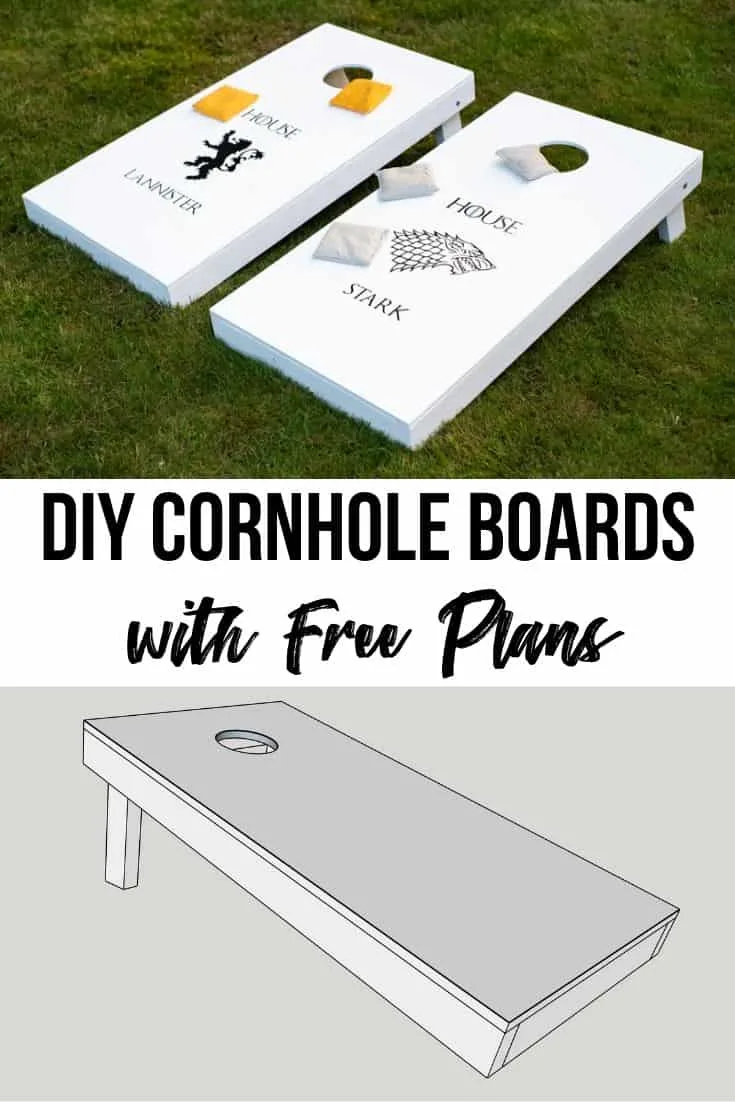
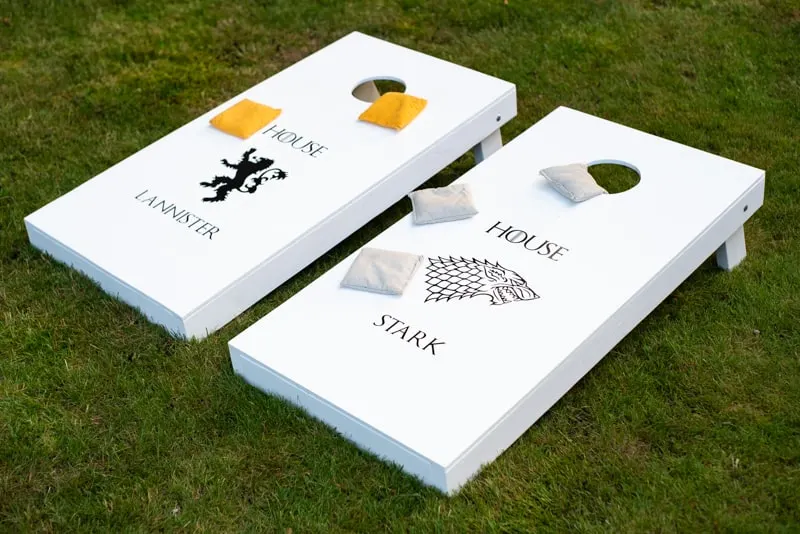
These Game of Thrones themed DIY cornhole boards are the ultimate backyard battle for Westeros! I made these for my husband for Father's Day a few years ago, and I've created free woodworking plans so you can make your own!
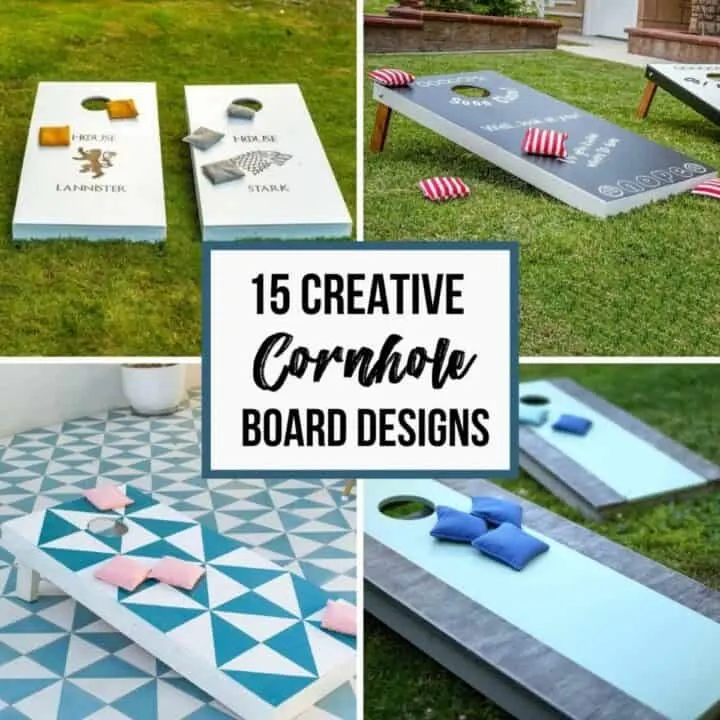
Combine this project with my DIY cornhole scoreboard for the perfect set to give as a gift. If you need some inspiration, check out this list of cornhole board design ideas!
This post contains affiliate links for your convenience. Purchases made through these links may earn me a small commission at no additional cost to you. Please visit my disclosures page for more information.
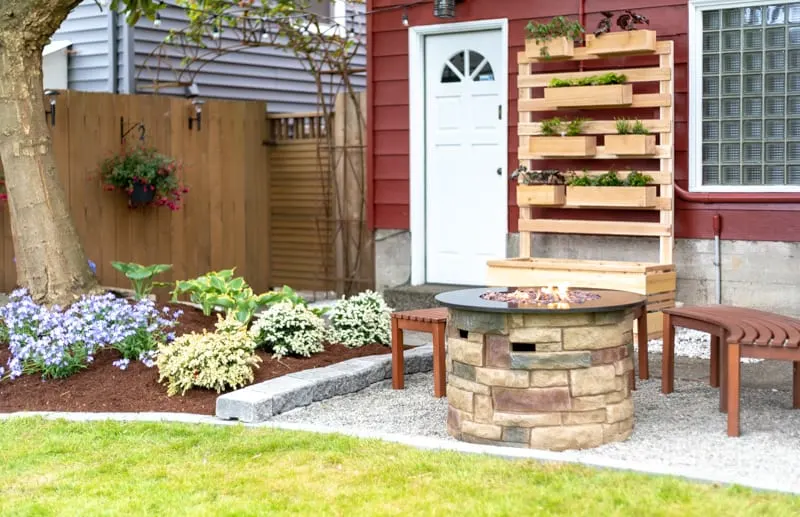
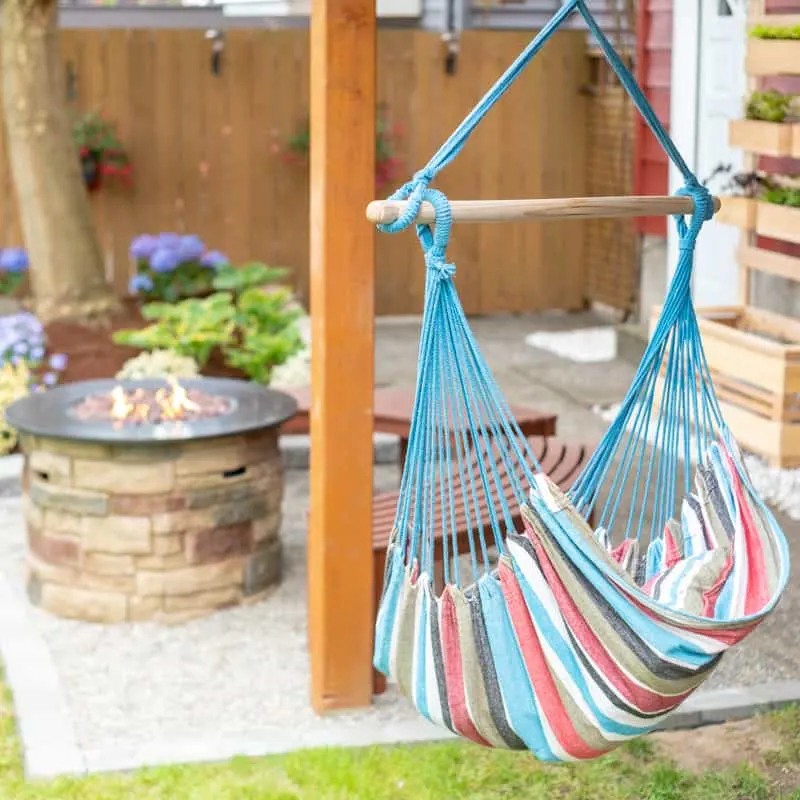
We've been using our backyard a lot more often after I gave it a makeover last month. It's a great hangout spot, with a fire pit, hammocks, and a flat, grassy patch for our DIY cornhole boards!
Cornhole Rules
This simple beanbag game is easy for the whole family to enjoy! There are plenty of precise rules about placement and foul lines and all that nonsense (which you can find here). But for a casual backyard game, here's all you need to know:
- Each player/team throws all four beanbags at the opposing cornhole board while standing beside their own board.
- A beanbag through the hole scores 3 points.
- A beanbag that lands on top of the board scores 1 point.
- The first person/team to 21 points is the winner!
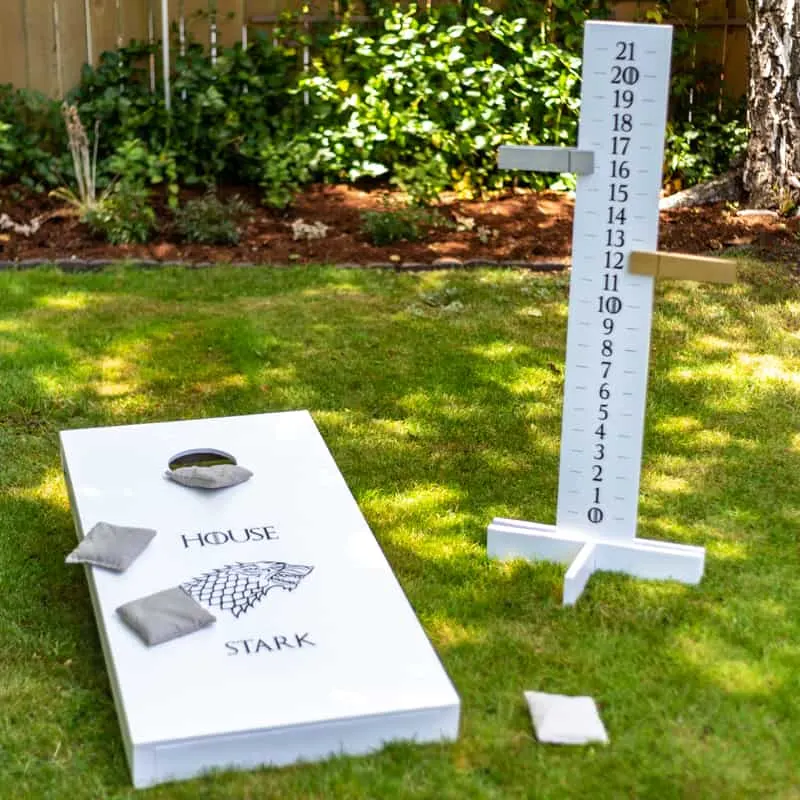
We keep track of points on this cornhole scoreboard. The large clothespin clips to make it easy to see the score at a glance.
Materials Needed
- 2 - 2'x4' plywood boards (¾" thick)
- You can also buy precut cornhole boards with the hole already drilled out for you! They're not much more expensive, and more accurate than cutting the hole with a jigsaw!
- 4 - 8 foot 2x4's
- 4 - 4" carriage bolts with washers and wingnuts of same diameter
- 2 ½" pocket hole screws
- Wood filler
- Satin or gloss white paint
- Cornhole board decals
- Cornhole beanbags
Tools Needed
- Compass
- Jigsaw
- 6" hole saw for drill (optional)
- Square
- Miter saw or circular saw
- Pocket hole jig
- You can use either a Kreg Jig R3 or a K4/K5. Learn more about how to use a Kreg Jig here!
- Brad nailer and 1 ¼" brad nails
Don't forget your safety gear when woodworking! Here are my recommendations for safety glasses and ear protection. No excuses!
How to Build Cornhole Boards
Start by downloading the free cornhole board plans by entering your email address below. You'll get the cut list and clear 3D models of each step to make building your own cornhole boards easy!
Cut the Plywood Top
You can buy 24" x 48" sheets of plywood precut at the big box store, which are the perfect size for these cornhole boards. You can also cut your own out of a larger sheet of ¾" plywood. Use a circular saw jig to get precise, straight cuts.
Build the Cornhole Board Frames
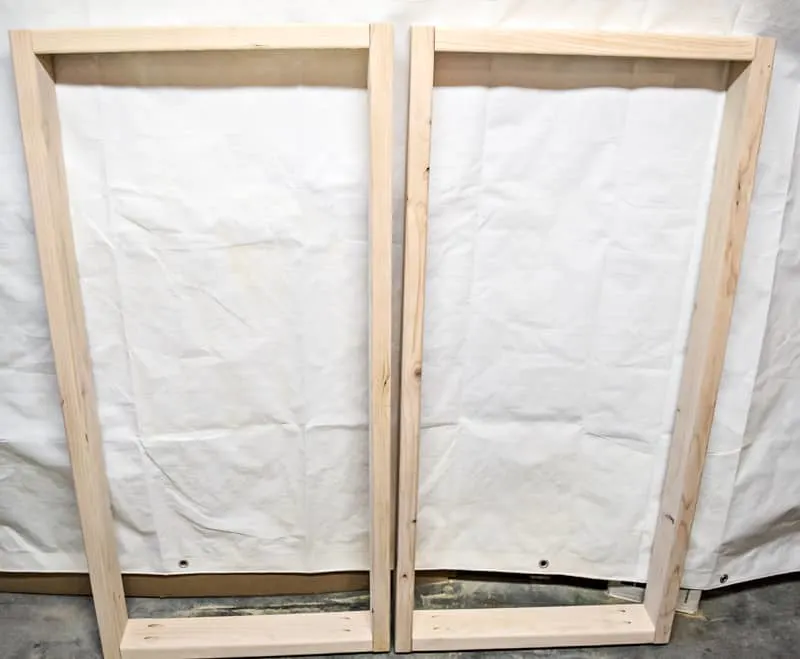
Cut the frame pieces out of 2x4 boards. Use a Kreg Jig to drill pocket holes into both ends of the shorter pieces.
Attach them to the longer pieces with 2 ½" pocket hole screws. Make sure your corners are square so the plywood board lines up properly with the frame.
Attach the Plywood Board to the Frame
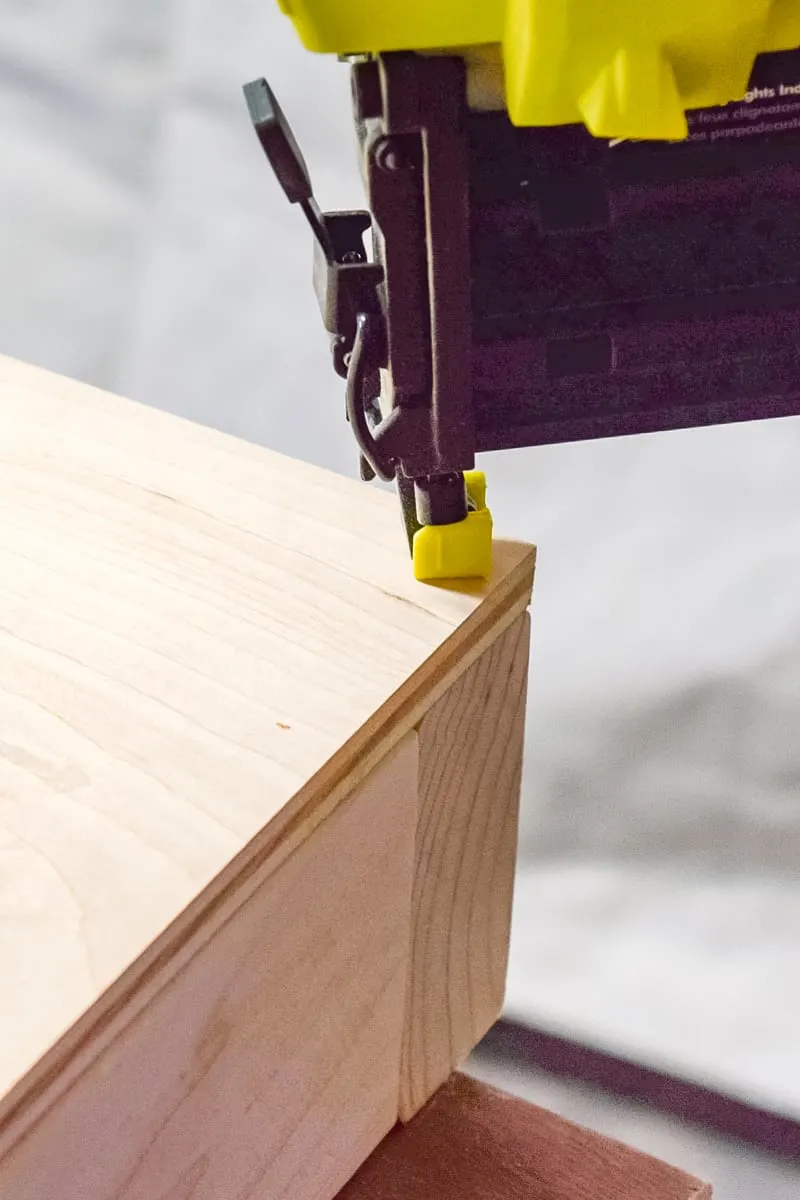
Use a brad nailer and 1 ¼" brad nails to attach the plywood board to the frame. You can also use screws, but make sure to countersink the screws so the heads are below the surface of the wood. Use wood filler to fill in the holes, and sand everything smooth when dry.
Cut the Beanbag Holes
With the cornhole boards assembled, it's time to cut out the hole for the beanbags to fall into. I have lots of tips on how to cut a circle in wood here. You can skip this step entirely if you buy these precut cornhole boards with the hole already drilled for you!
You can make these holes a lot easier with a 6" hole saw that attaches to your drill. You can find a full tutorial on how to use a hole saw here. If you don't have one, you can follow the jigsaw method outlined below.
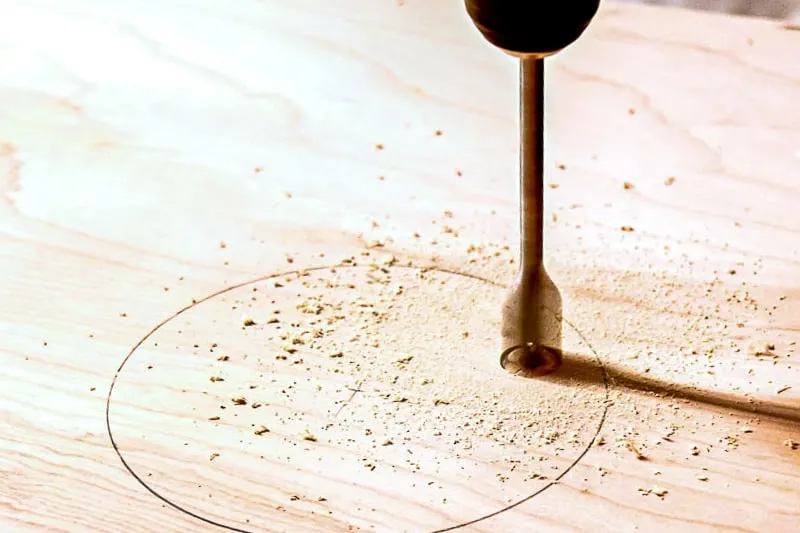
From the center of the top edge of the board, mark a point 9 inches down and 12 inches from each side. With your compass set for 3 inches, draw a circle around this center point. Drill a hole with a drill bit inside this circle close to the line so you can insert the jigsaw blade.
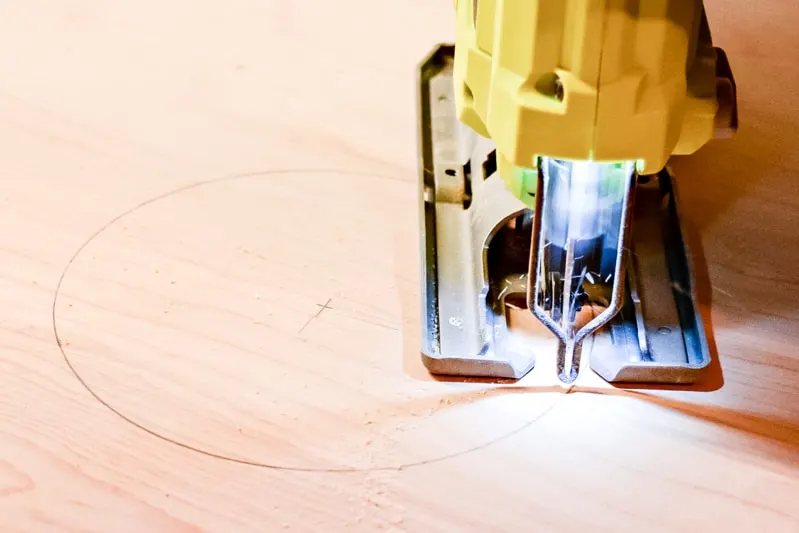
Cut out the circle with the jigsaw, keeping the blade slightly inside your marked line. My hole looked pretty lumpy when it was all cut out, so I used a sanding drum attachment on my drill to smooth out the sides.
Cut the Folding Legs
Cut each leg a little longer than necessary, so they can be trimmed to regulation height after they're attached.
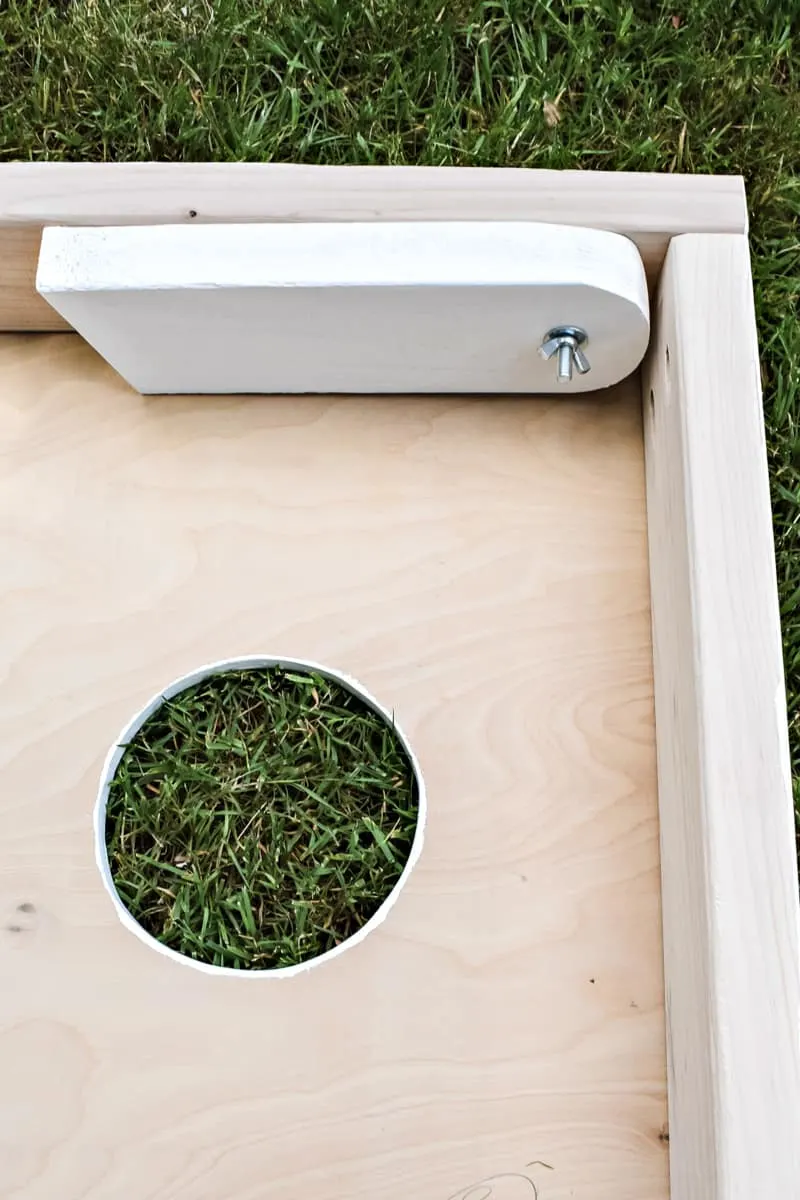
In order for the folding legs to swivel into the frame, the top of each leg needs to be rounded off. Using the compass set to 1 ¾", mark off a half circle at the top of each leg, then use your jigsaw to cut it out.
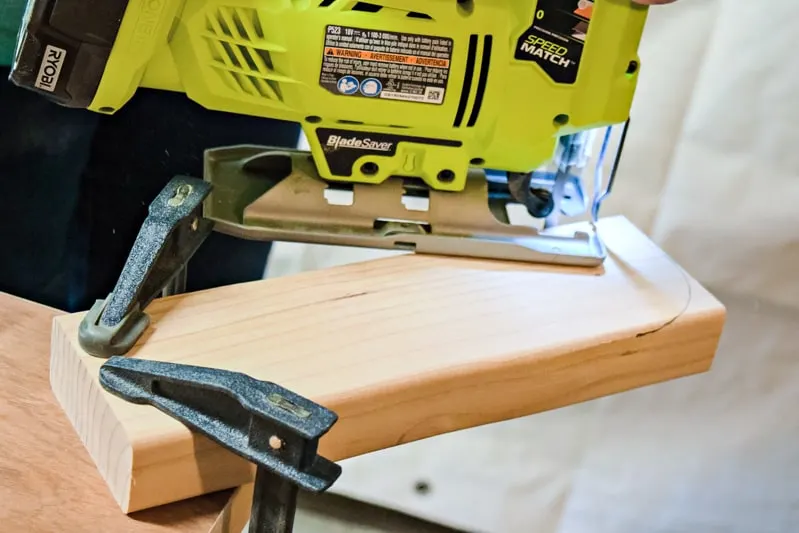
Drill a hole slightly wider than the diameter of your carriage bolts in the center of the curved end. Then clamp the leg to the inside of the frame about ½" from the end, and stick a pencil in the hole to mark where to drill the hole in the frame.
Test out the legs and bolts to make sure they can fold up into the frame easily. I suggest making one leg to test, then trace the final shape onto the other legs.
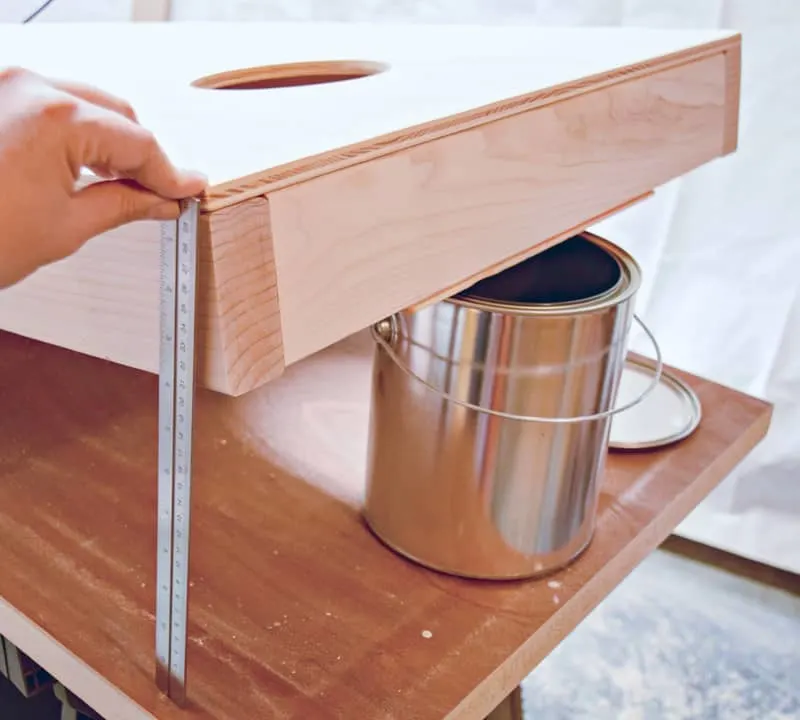
Regulation cornhole boards are 12" high in the back. Prop up the back of the board with a paint can and a paint stirring stick, which raises the back of the board up exactly a foot.
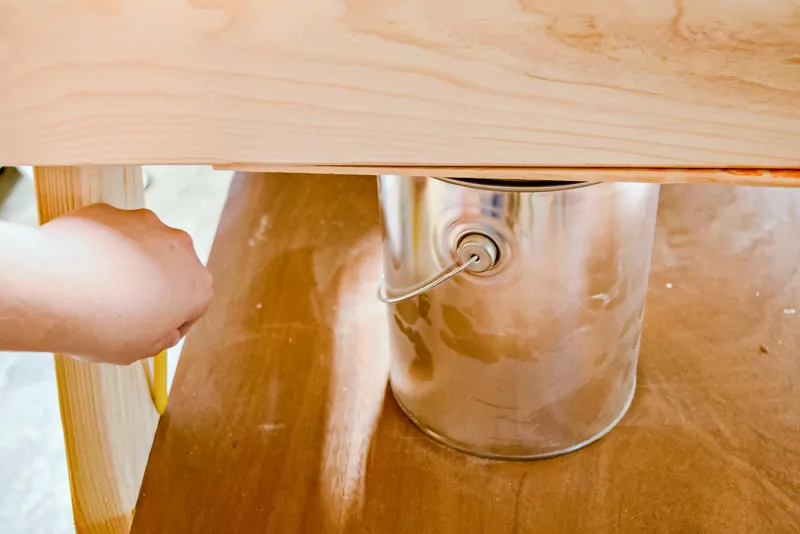
Move the board off the workbench a few inches so that the leg hangs down along the side. Extend the leg and tighten the wing nut. Mark the line where the leg meets the surface of the worktable, and cut. This creates the perfect angle without breaking out the protractor!
Paint and Add Cornhole Board Decals
Now it's time to decorate! Be sure to use a satin or gloss paint to make the playing surface slick. I used one coat of primer and two coats of Rustoleum white gloss paint.
Once it was dry, I attached the decals. The Etsy seller I purchased them from provided detailed instructions for applying the decals, and a handy tool for smoothing them out perfectly.
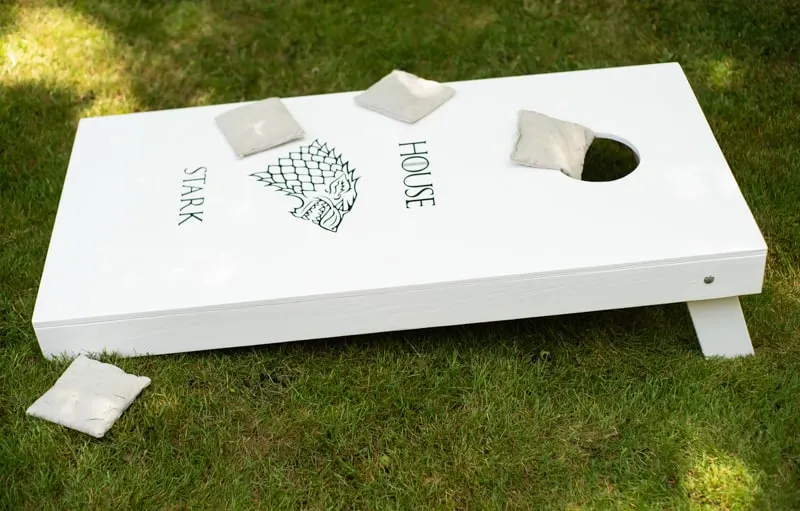
You can even skip painting the top and add these full size cornhole board skins instead! I can imagine so many different rivalries that can be used with these cornhole boards. Sports teams, international rivalries, Dark side vs Light side . . . The possibilities are endless!
You're not the DIY type, but still want to make custom cornhole boards? Here are some pre-made options that would be perfect for adding your own decals.
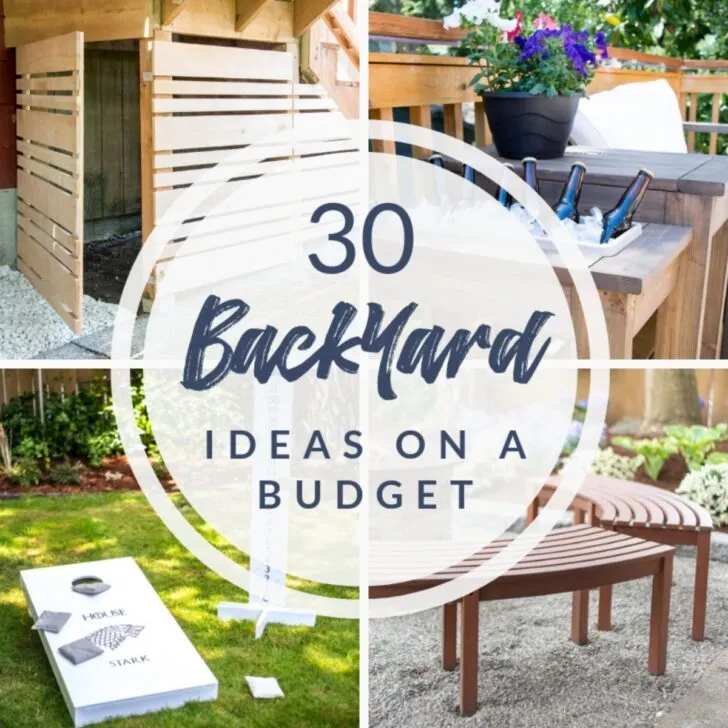
Check out these other fun backyard ideas!

Amy
Wednesday 26th of June 2019
I was just talking with my sister and husband about Cornhole Boards a couple of weeks ago. I'm so excited to have this post. I think that I am going to try to make a set with my grandson!
Julie
Saturday 3rd of September 2016
These are fab! All my lot love GoT so this would be a big hit. I love the idea of darkside/lightside too, or Harry Potter houses maybe. like you say, endless options!
Stephen Johnson
Friday 15th of July 2016
Nice tutorial! I've been planning on make a couple of these. Your tutorial is easy to follow, and I like the theme.
The Handyman's Daughter
Friday 15th of July 2016
Thanks! Glad I could help, and good luck making your own!
Marie
Sunday 3rd of July 2016
This is a fantastic DIY! Any Game of Thrones fan would love playing on these in the backyard. Thanks for sharing with us at Merry Monday!
K3Cottage
Friday 1st of July 2016
Spray paint your canvas. You can use one or two colors for your design. Let dry and then remove the tape. You can also spray paint the wood legs of your board.