This easy to build DIY outdoor coffee table looks even better than the West Elm inspiration piece! Get the plans and build your own today!
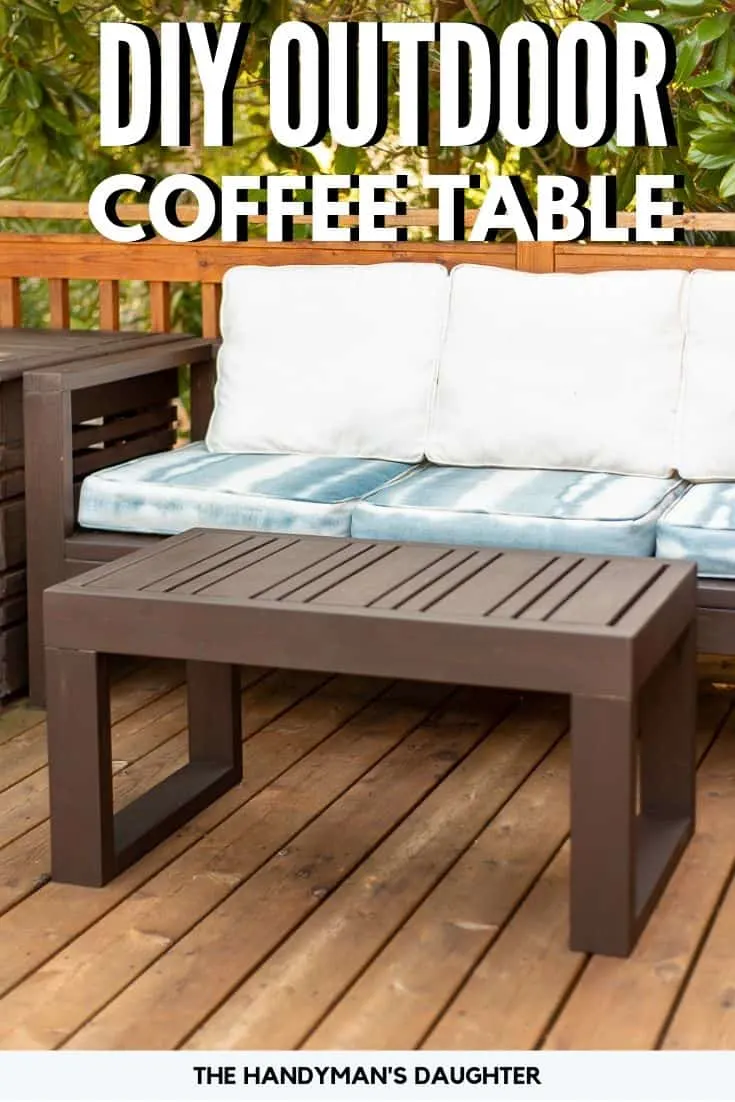
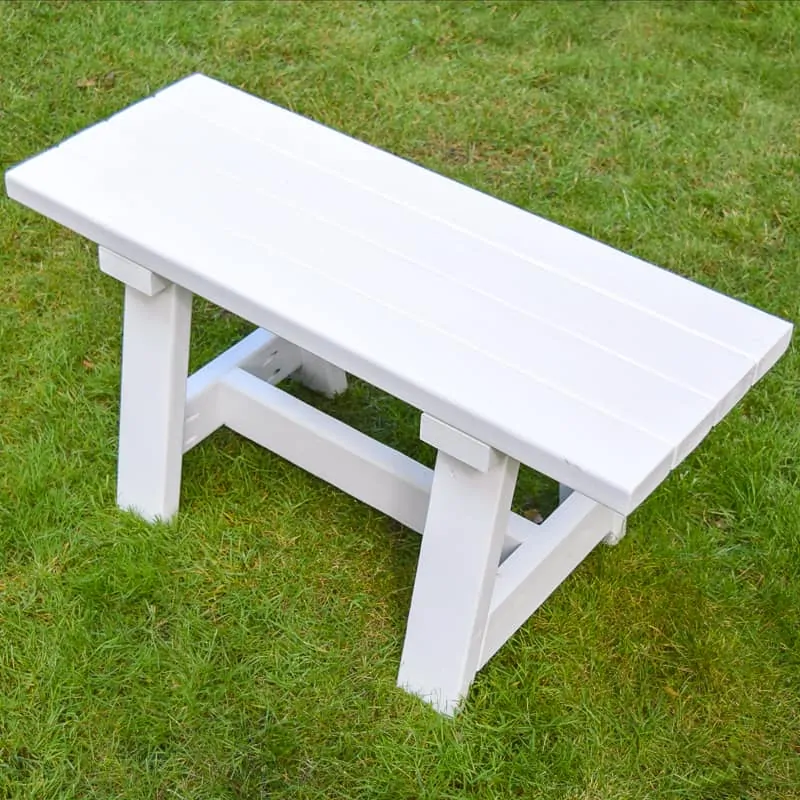
This DIY outdoor coffee table may look complicated, but if you have a pocket hole jig, you can make it easily! It uses just a few 2x4 and 2x2 boards, so it's a cheap project too! I built mine with cedar, but you can use pine if it will be sheltered from the elements.
Check out this list for more DIY coffee table ideas!
This post contains affiliate links for your convenience. Purchases made through these links may earn me a small commission at no additional cost to you. Please visit my disclosures page for more information.
I love browsing through expensive furniture catalogs. Not to buy anything, of course, but for the inspiration! I can build the same style as the fancy stores for a fraction of the price!
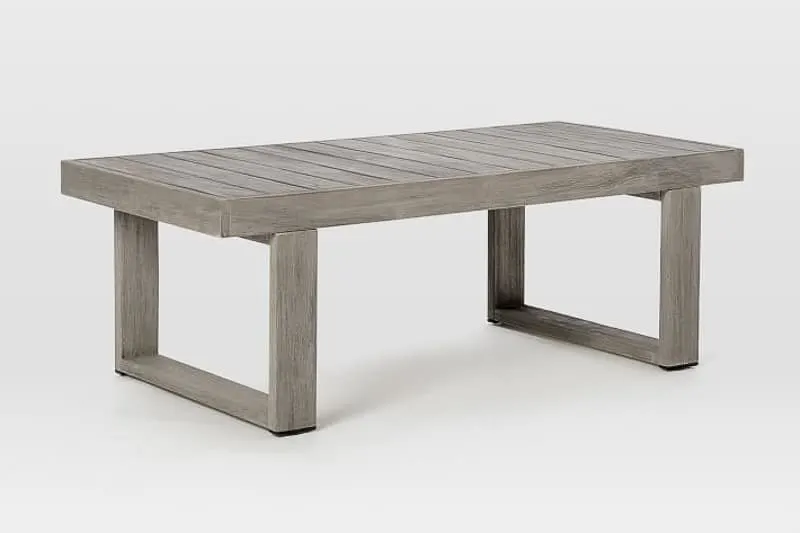
While browsing on the West Elm website, I came across this simple outdoor coffee table and instantly thought "I can make that!" It's a simple 2x4 coffee table with a $450 price tag!
My version is scaled down to fit a smaller patio or deck. I changed the design of the slats to match the umbrella stand side table I just built. And I moved the legs to the ends to prevent tipping if someone decides to sit on the end. I think I like mine better than the original! 🙂
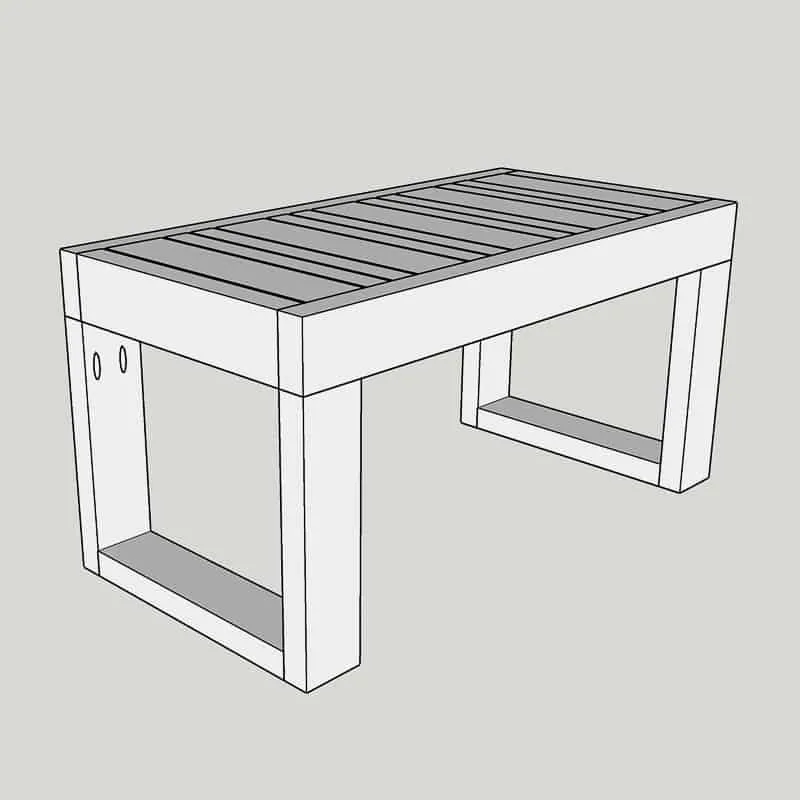
Here's how to make your own!
Materials needed
- Three 2x4 boards
- Three 2x2 boards
- Pocket hole jig
- 2 ½" exterior pocket hole screws
- Exterior wood glue
- Clamps
- Miter saw or circular saw
- Sander and sandpaper
- Measuring tape
- Square
- Stain or paint
How to make an outdoor coffee table
Download the woodworking plans
You can download the 2x4 coffee table plans by clicking the button below! The printable woodworking plans include a detailed cut list, step by step instructions with 3D models, and a handy checklist to keep you on track.
Cut all the pieces
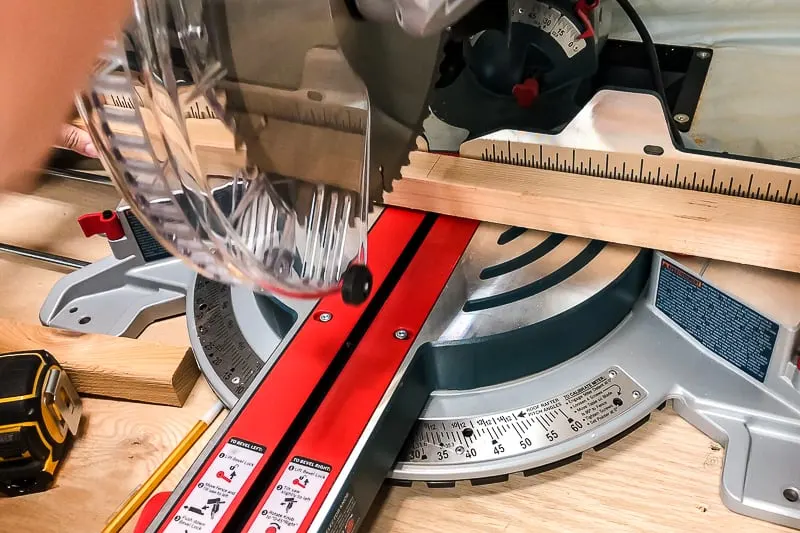
There are a lot of pieces to cut for this project! Luckily, most of them are the same length. I usually use a stop block to cut multiple parts quickly, but I just bought a new miter saw and I haven't reinstalled the stop track on my miter saw stand yet.
To make the process go quickly, cut one piece to the correct length, then use that piece as a template to mark the cut line for the next piece.
Drill pocket holes
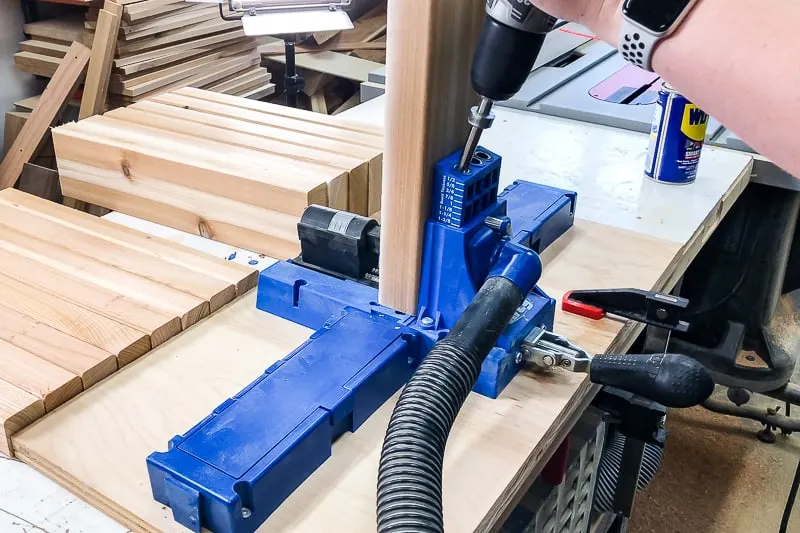
There are a LOT of pocket holes to drill too, so it's easier to just do them all at once. Check out my guide on pocket holes if you're not familiar with this method of joinery, and my comparison of the Kreg Jig R3 and K5 if you're still on the fence about which one to buy.
The Kreg Jig K5 made the process go pretty quickly, and I was able to drill all the holes in the slats in about 15 minutes. (Quick tip: Squirt a little WD-40 on the handle to make it pull down smoothly!)
After all the holes are drilled, give each piece a good sanding with 80 and 150 grit sandpaper.
Assemble the frame
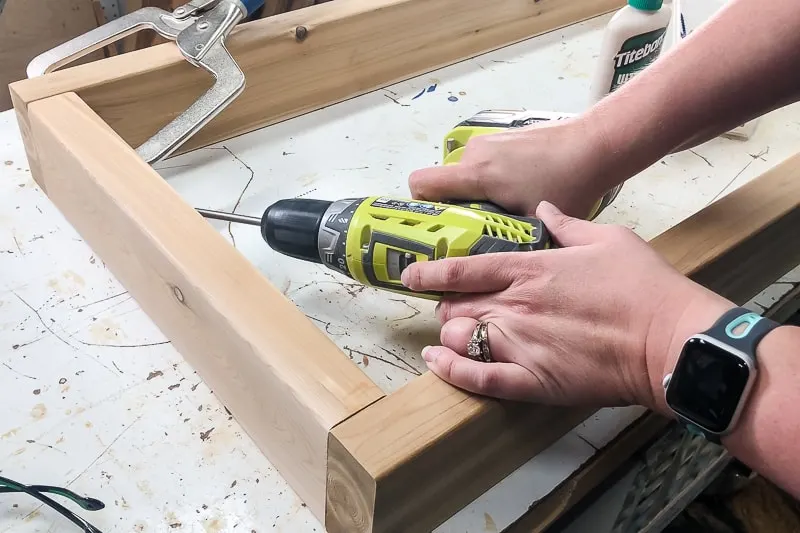
Put the frame of the table top together using exterior wood glue and 2 ½" exterior pocket hole screws. A right angle pocket hole clamp helps to keep the pieces aligned while you screw everything together.
Dry fit the slats
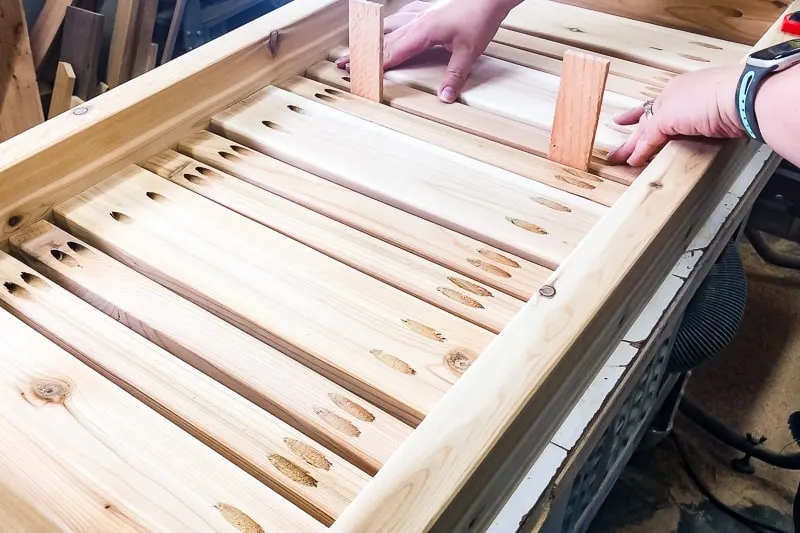
When I drew up the plans, I allowed a ¼" gap between each slat, but I did a dry fit before I started assembly just to check. I'm so glad I did, because I was left with a big gap at the end! Lumber widths can vary slightly from board to board, and a 1/16" difference turns into an almost 1" gap over all these slats!

I played around with the layout, using scraps and wood shims as spacers, until I found a consistent gap that worked throughout the top. Save that spacer and clearly mark it if you plan to make more than one!
Screw the slats to the frame
With the spacing finally settled, it was time to screw all the pieces into place. Clamp the frame down to the workbench so it doesn't shift during assembly.
Mark the center of one 2x4 slat, then mark the center of the inside of the frame. Line up the two marks, and screw the middle slat into place with 2 ½" exterior pocket hole screws.
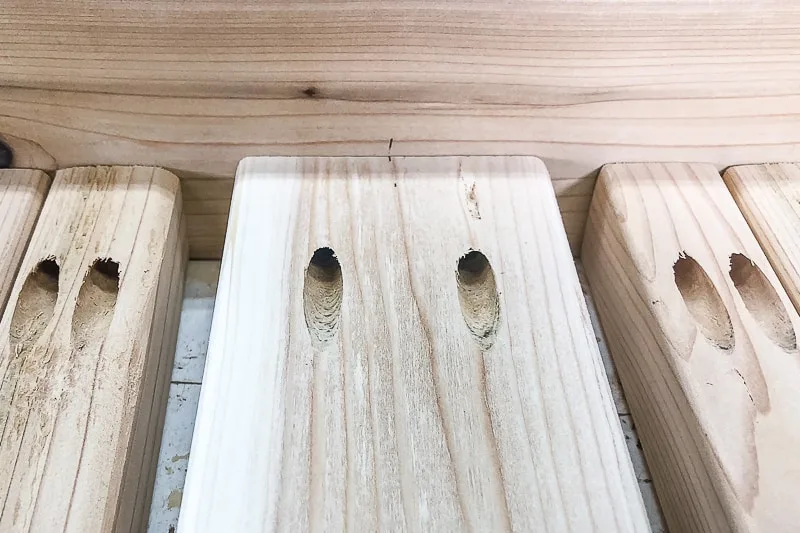
Use the spacers to position the first 2x2 slat, then screw it into place. Continue down the line, adding more slats.
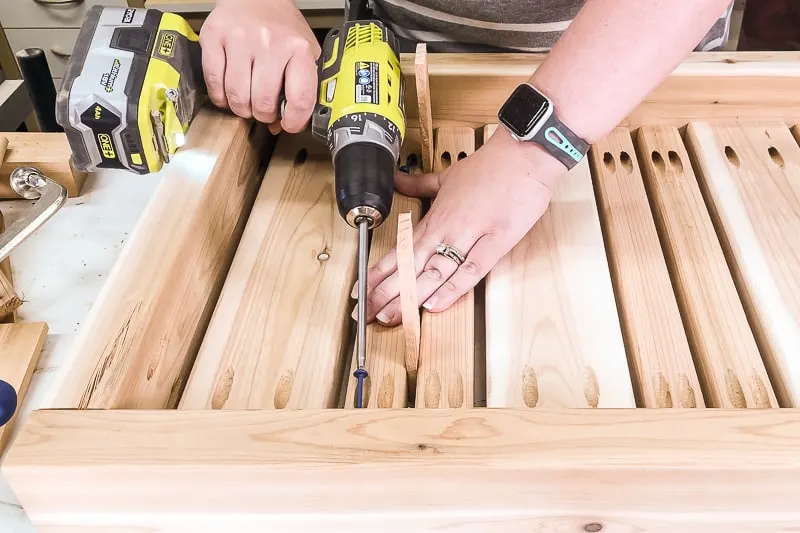
The frame gets tighter as more slats are added. I used a chisel as leverage to force those last slats into position.
Sand the top
When I flipped the top over, I found that a few of the slats were slightly higher than the others. Gah! A quick sanding evened out the ends and made them look more uniform.
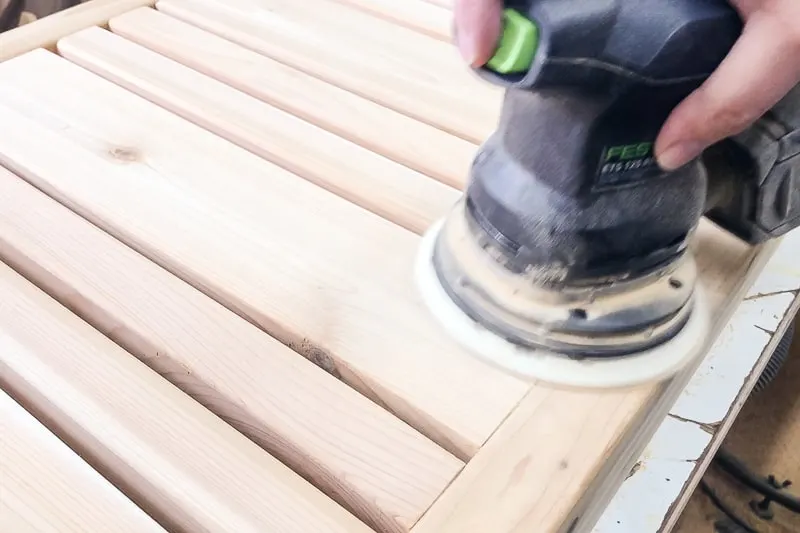
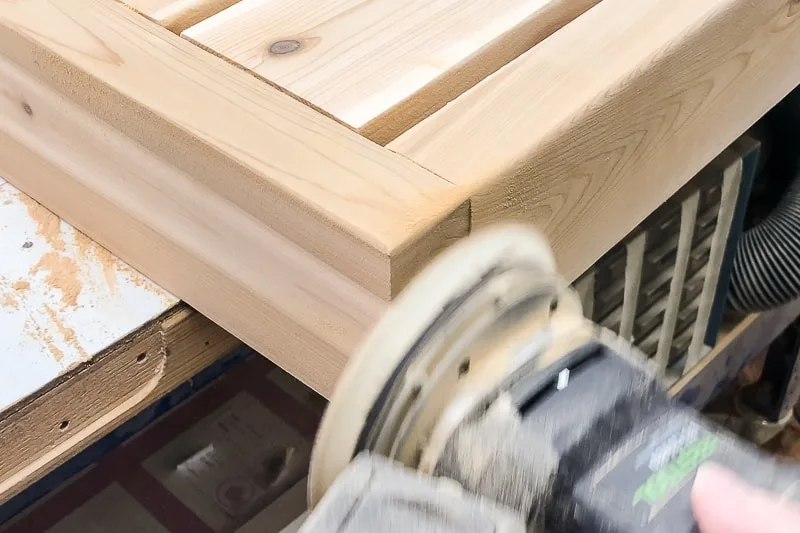
I also rounded over the corners with the sander to match the edge of the 2x4 and prevent scratched shins.
Build the legs
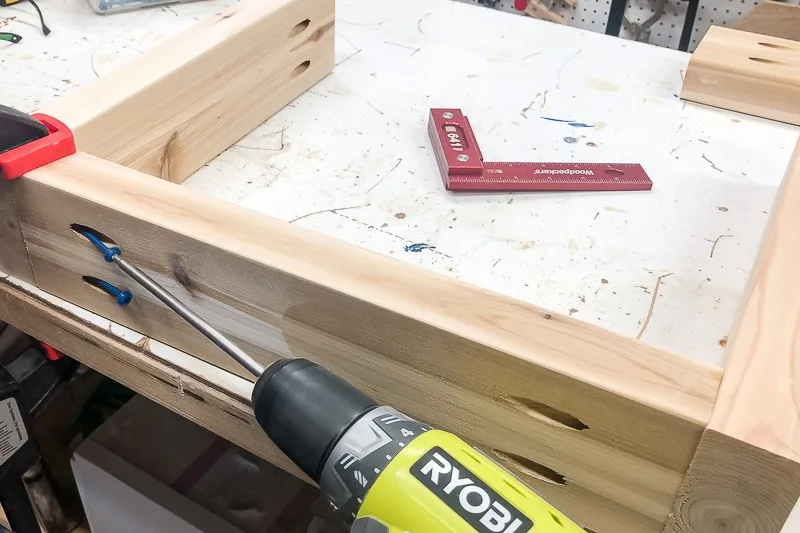
The U shaped legs of this outdoor coffee table are easy to assemble. Use one of the leftover 2x4 slats to connect the two legs together. Make sure the pocket holes are facing down, so you won't see them in the finished piece.
Connect the legs to the top
The pocket holes in the tops of the legs connect to the frame of the coffee table top. These will be visible, so use a plug if you want to hide the pocket holes. I'm using a dark wood stain for this coffee table, so the holes will blend in.

Rest the coffee table top on its side, then clamp it down. Line up the edge of the leg with the end of the top, and attach the first leg with pocket hole screws. You may need a right angle drill adapter to access this tight space.
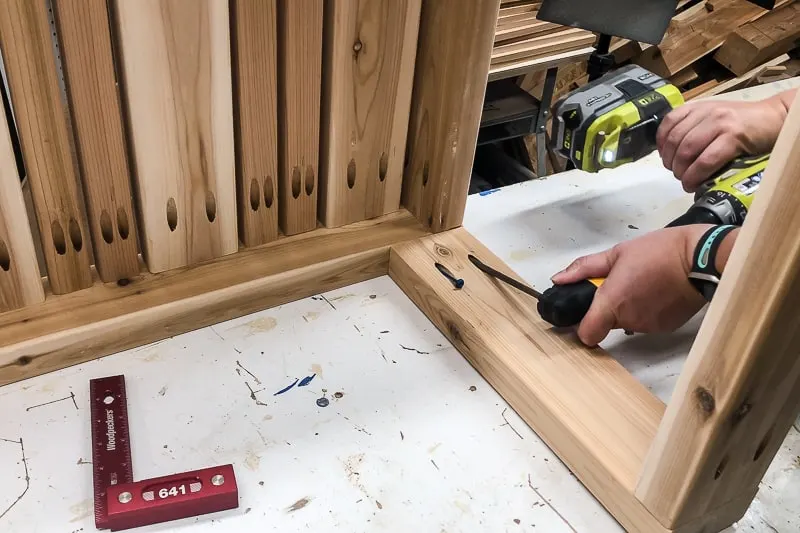
Repeat for the other leg, then flip it all over to attach the other side.
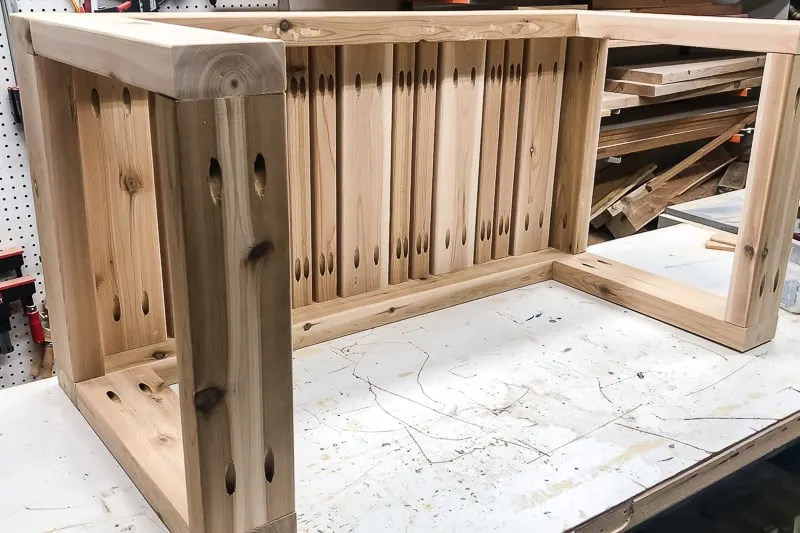
Paint or stain
I think staining took longer than the entire assembly process! Use a foam brush to get in between the slats.
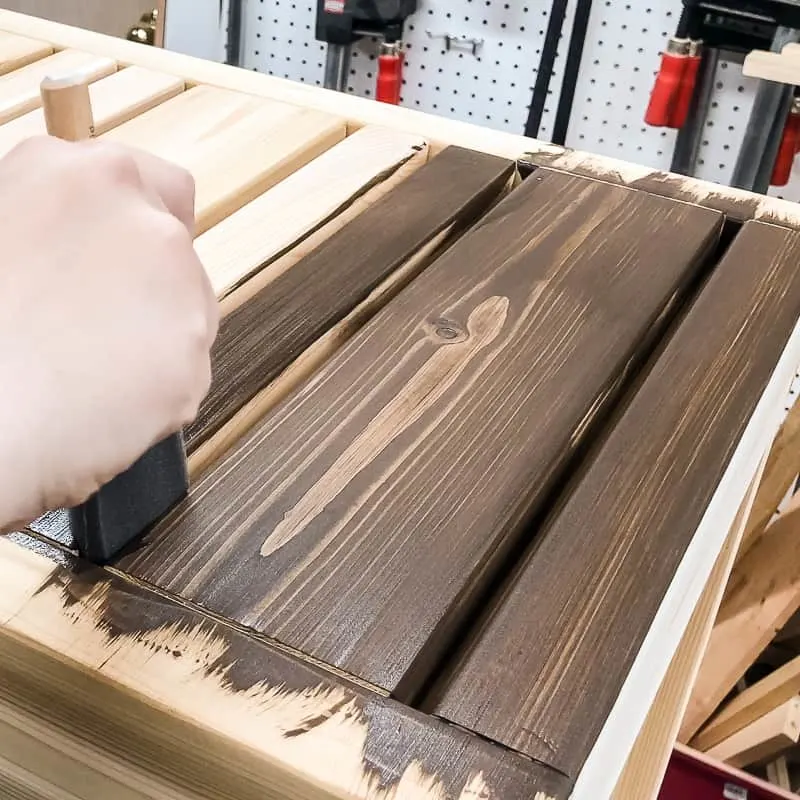
I used the same outdoor wood stain as the rest of my DIY outdoor furniture to create a matching set. It's Behr solid color exterior stain in Cordovan Brown, and two coats gives it a nice, even finish.
Enjoy your new outdoor coffee table!
My outdoor seating area is finally complete, and I built all these pieces myself! This entire set cost a fraction of what I would have spent at the store, and they're all made of solid cedar so they'll stand up to all our rain in the winter.
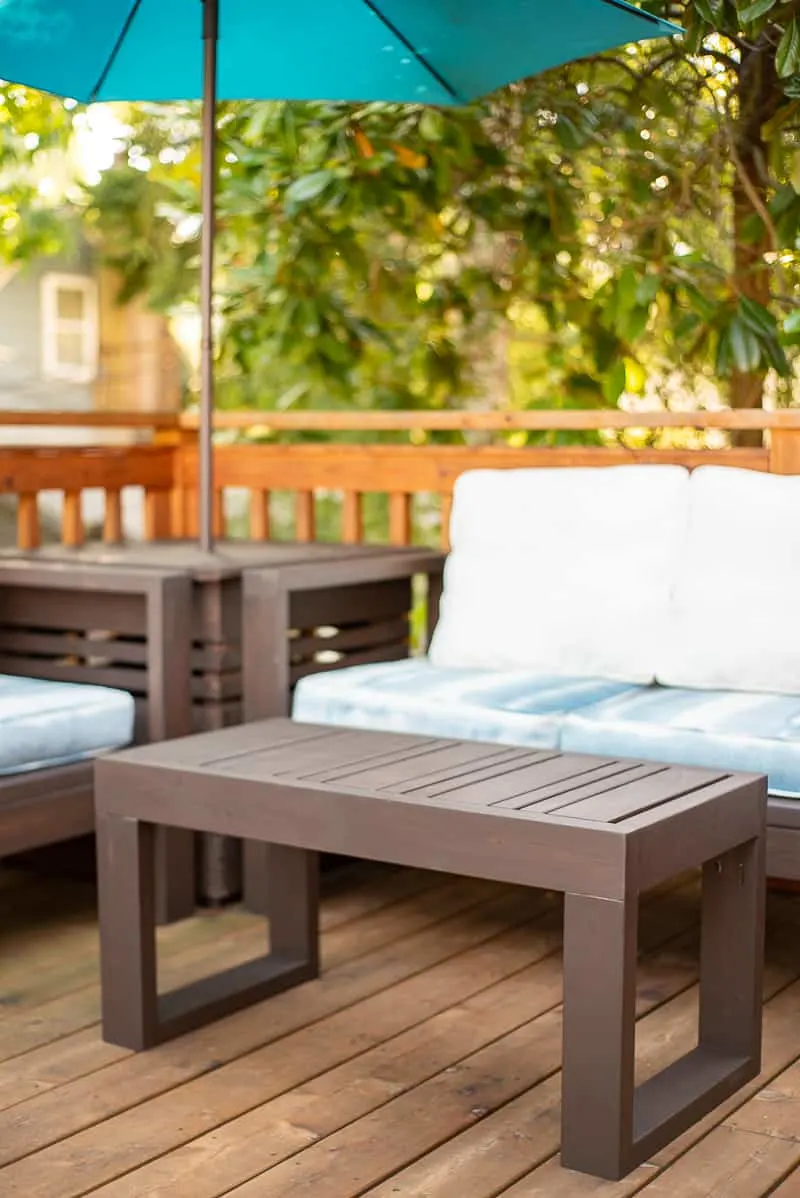
You can find the plans for all these outdoor furniture pieces in my woodworking plans library! Here are the links to the tutorials for each project:
Best of all, the coffee table is just the right height to serve as an outdoor bench, too! Next year, I plan to build a new dining table and benches just like this one.
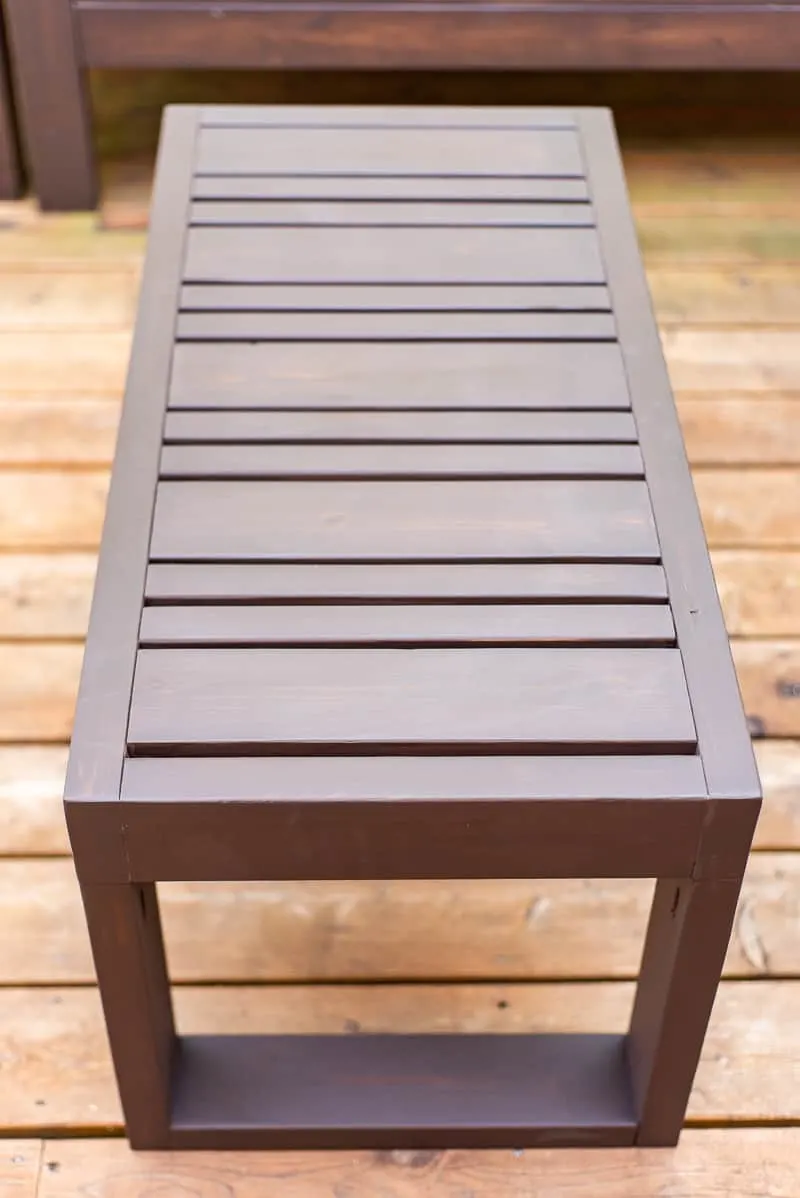
So what are you waiting for? Download the woodworking plans and start building your own DIY outdoor coffee table today!


Pamela
Thursday 5th of September 2019
This turned out SO good! I love the design on top.
Toni | Girl, Just DIY!
Friday 30th of August 2019
Your table turned out great, and I love the pattern in the top you created with the different sized wood slats. It's the perfect size for drinks, a plate of food, and to prop your feet and relax. Love it!!
Sheri
Friday 30th of August 2019
It looks so great! Nice work!